Berik's blog
A log of repairs and creations
Repairs
- Music unscrewed
- Friendly repair for a friend
- Osqar shines bright
- Sugden A25 - Professional Repair
- Sony DD Walkman: Broken Main Gear Replacement
- THE BILLIARD COMPUTER IS BACK ONLINE!
- Computer Speaker Jack Replacement
- Under Pressure: Breathing Life into a Medical Device
- Stuck in Spin: Reviving a Jammed DVD Tray
Sony DD Walkman: Broken Main Gear Replacement
Repair job take home assignment
I agreed to take this repair home. This repair needs parts to be ordered. Also the repair is quite intense. Especially if it is the first time to open a Sony DD Walkman. This device is high-tech from another era. There are plenty of tiny screws, all different. There are springs and clips that have a tendency to fly off and vanish.
A repair café setting, where kids are running around, a customer is waiting, time pressure, etc, is no place for such a repair.
Issue description
After many years of service, this Direct Drive Walkman developed some issues:
- A plastic gear, which is cast around an iron ring, tears open. After that, the Walkman will still play cassettes, but the broken gear will cause the audio to stop briefly every 2 seconds or so. Also when listening to the mechanics when the Walkman is playing, a tick sound can be heard. every 2 seconds or so.
- The Fast Reverse does no longer work. With no tape inserted both reel drive spindles turn in opposite directions.
- The Play, Stop, Fast Forward, Fast Reverse buttons get stuck in the pressed position
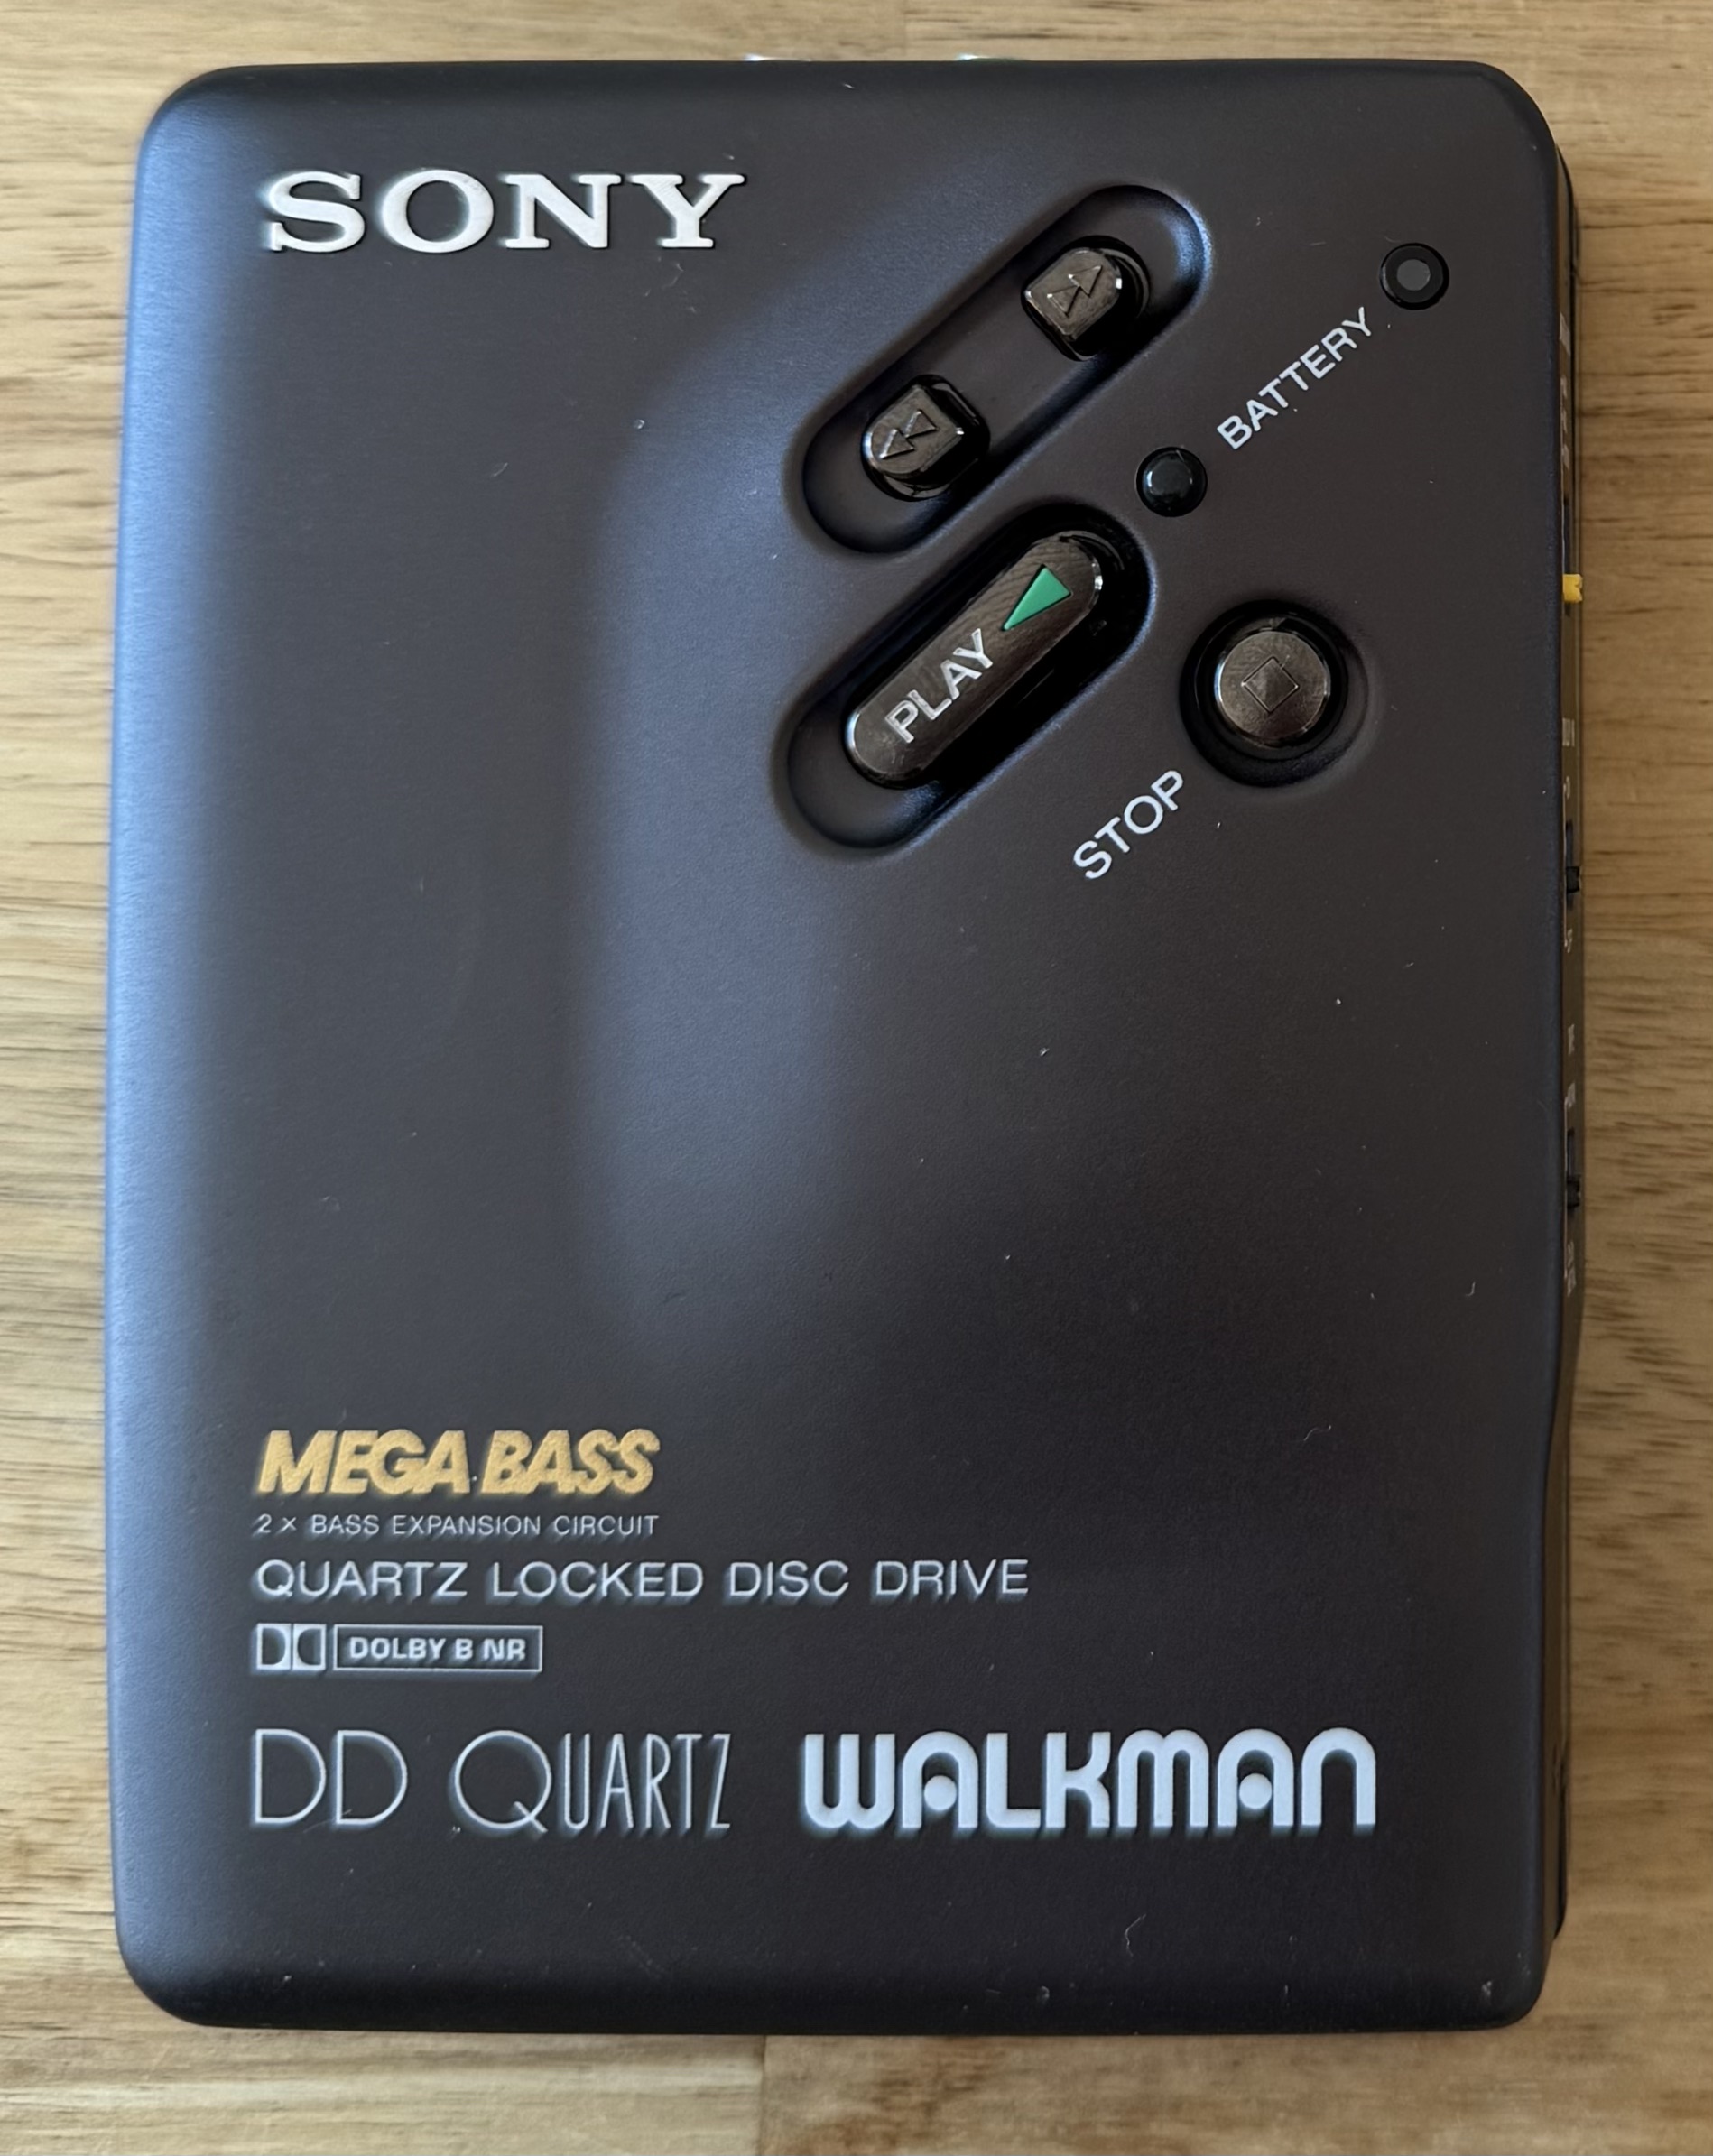
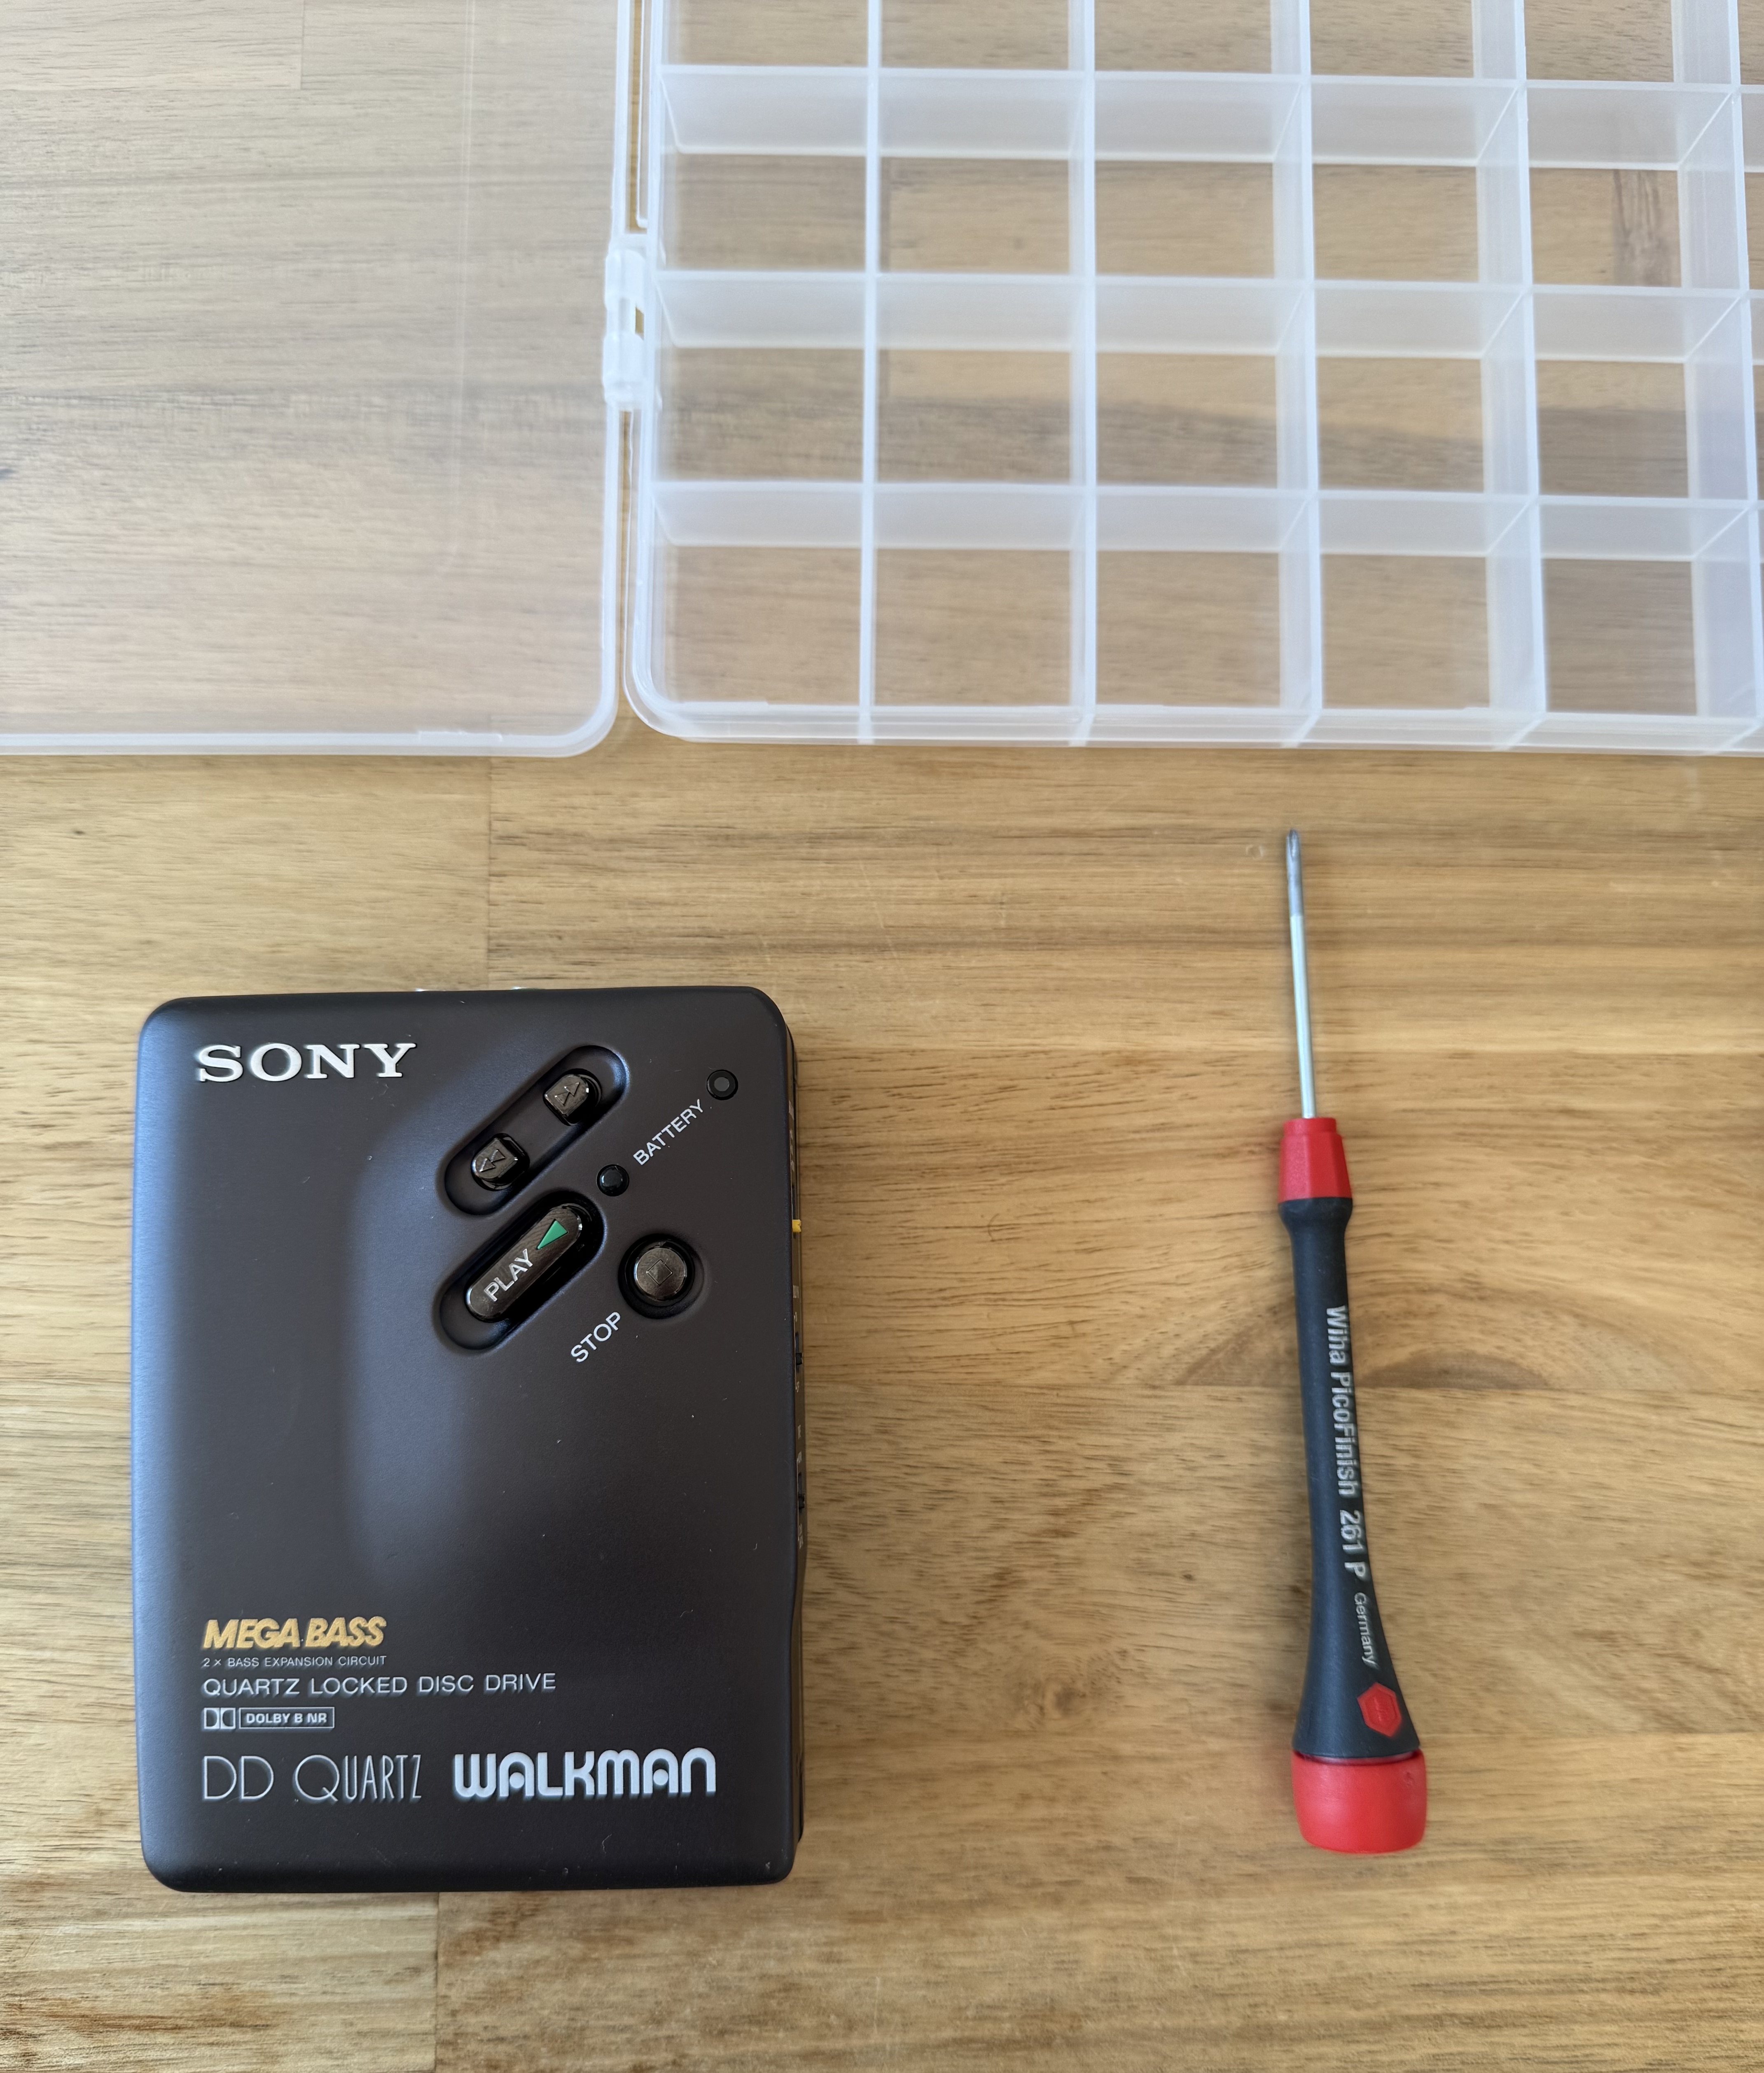
The walkman
The broken gear:
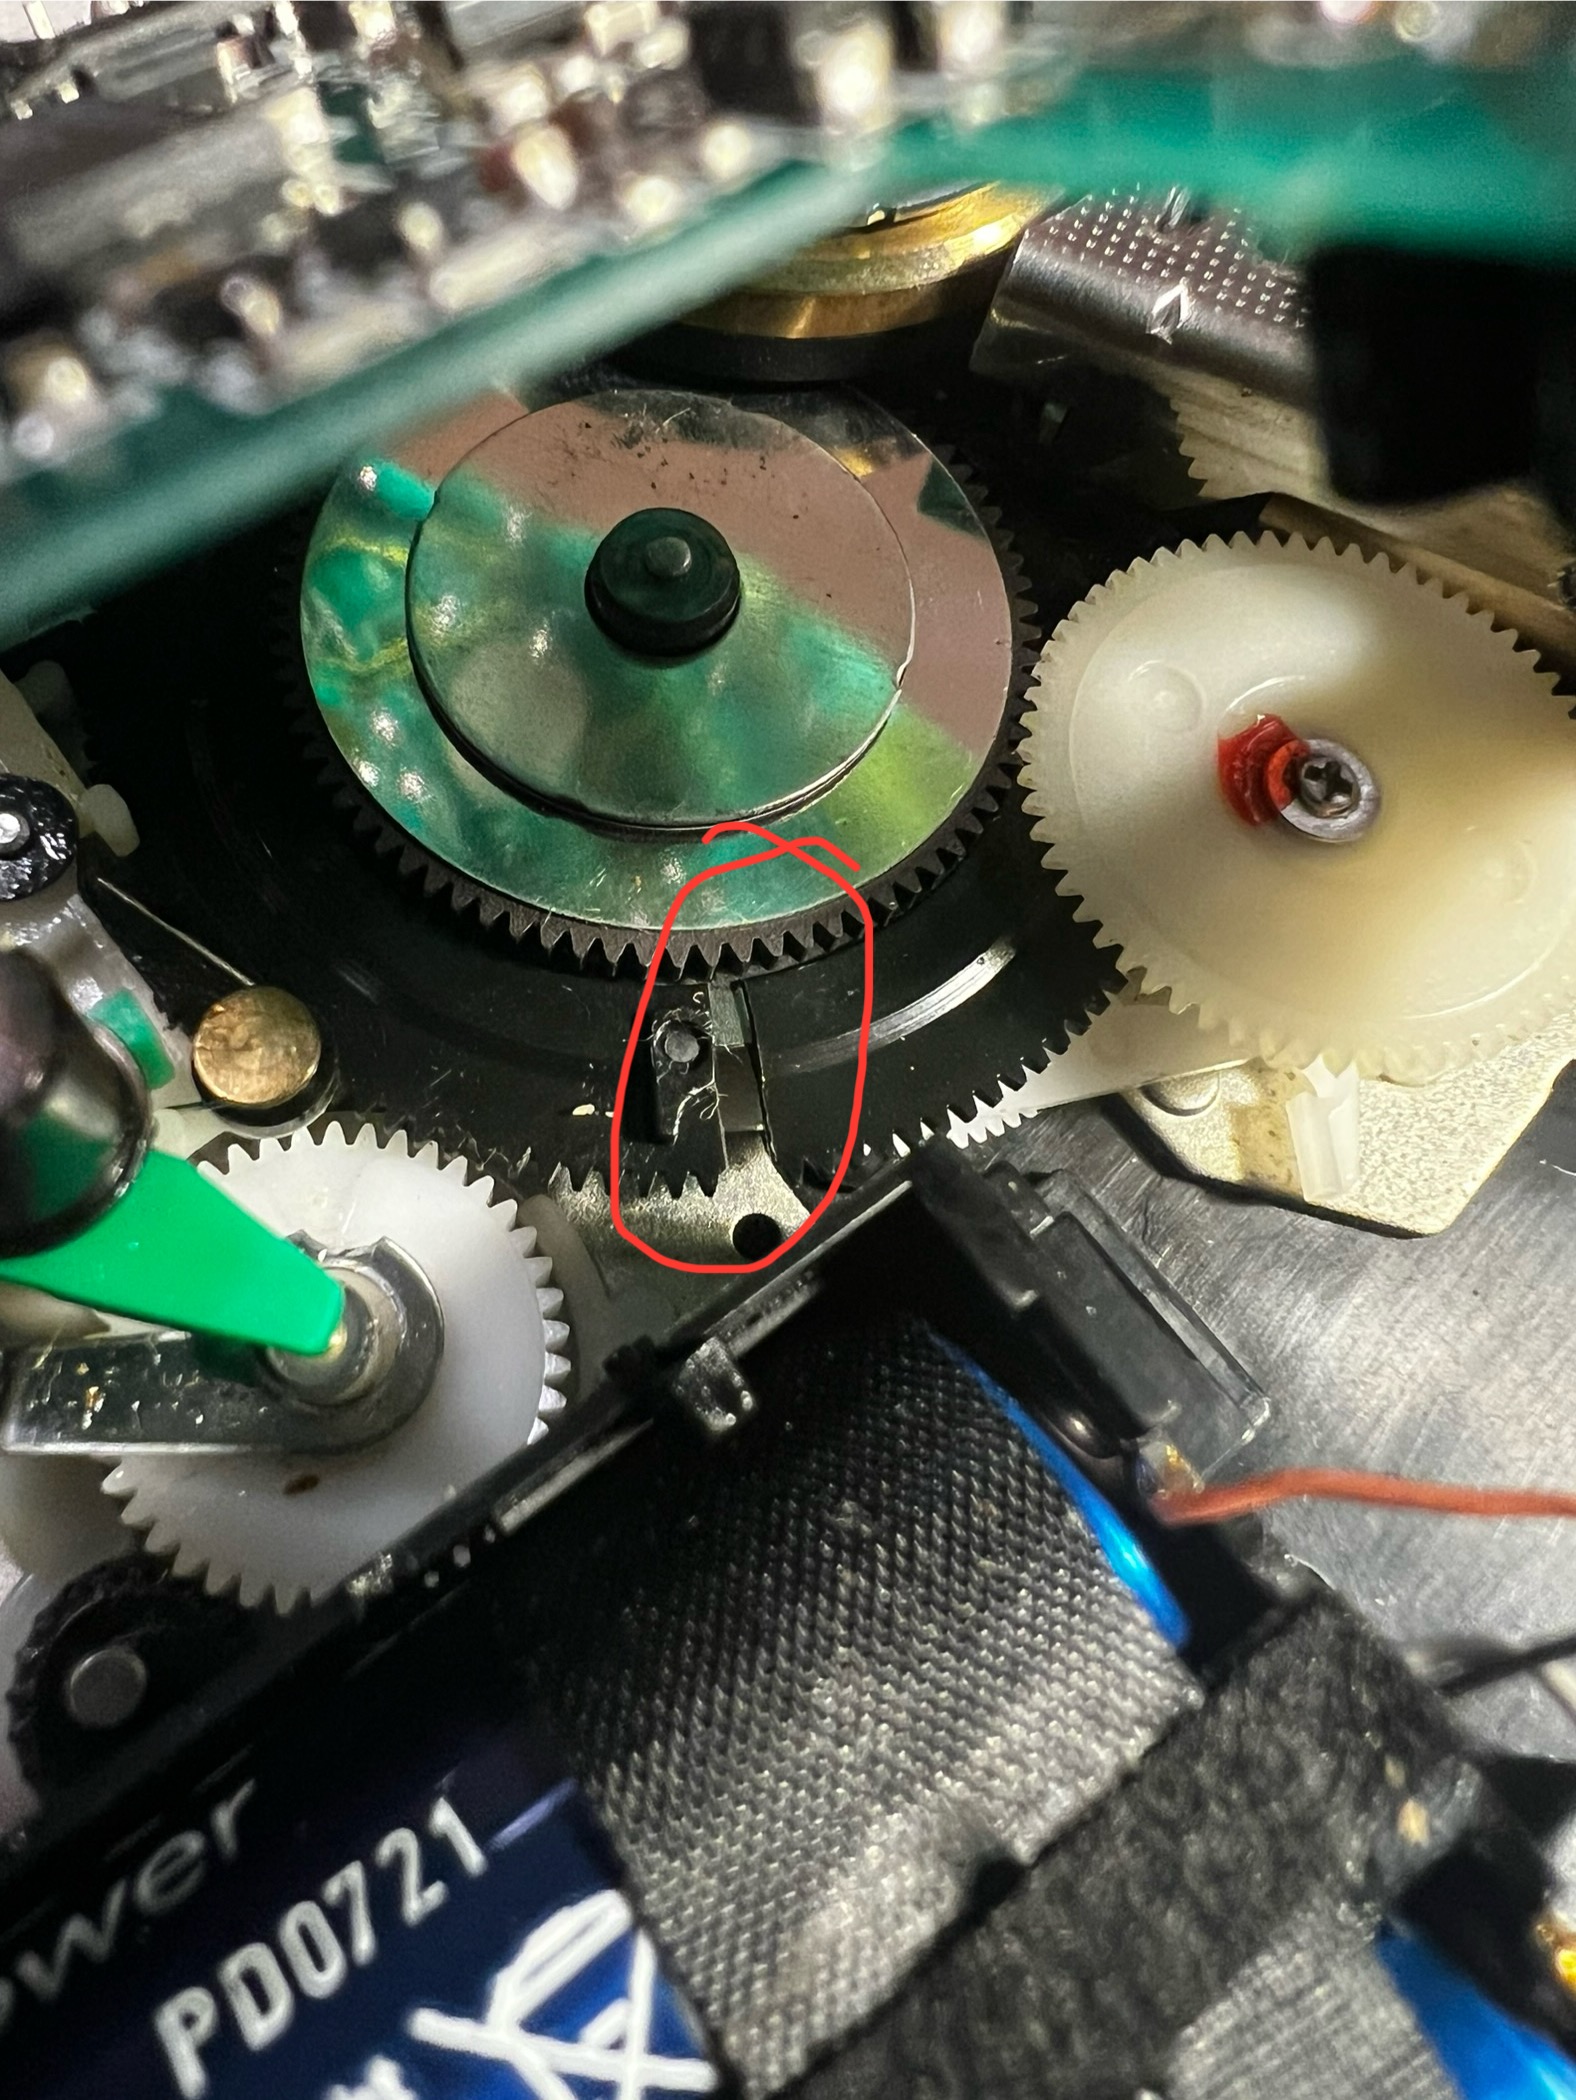
The gear likely breaks because it is tightly fit around a metal wheel. Plastic and metal have different thermal expansion coefficients, causing the metal wheel to expand faster than the plastic. When the Walkman gets sufficiently hot, the expanded metal wheel can break the plastic gear open.
Fix Your Audio has a great tutorial on how to disassemble, replace the gear and lubricate the Walkman, which I used during the repair. If you want to repeat this repair, make sure to follow their instructions.
Requirements
Tools and consumables used:
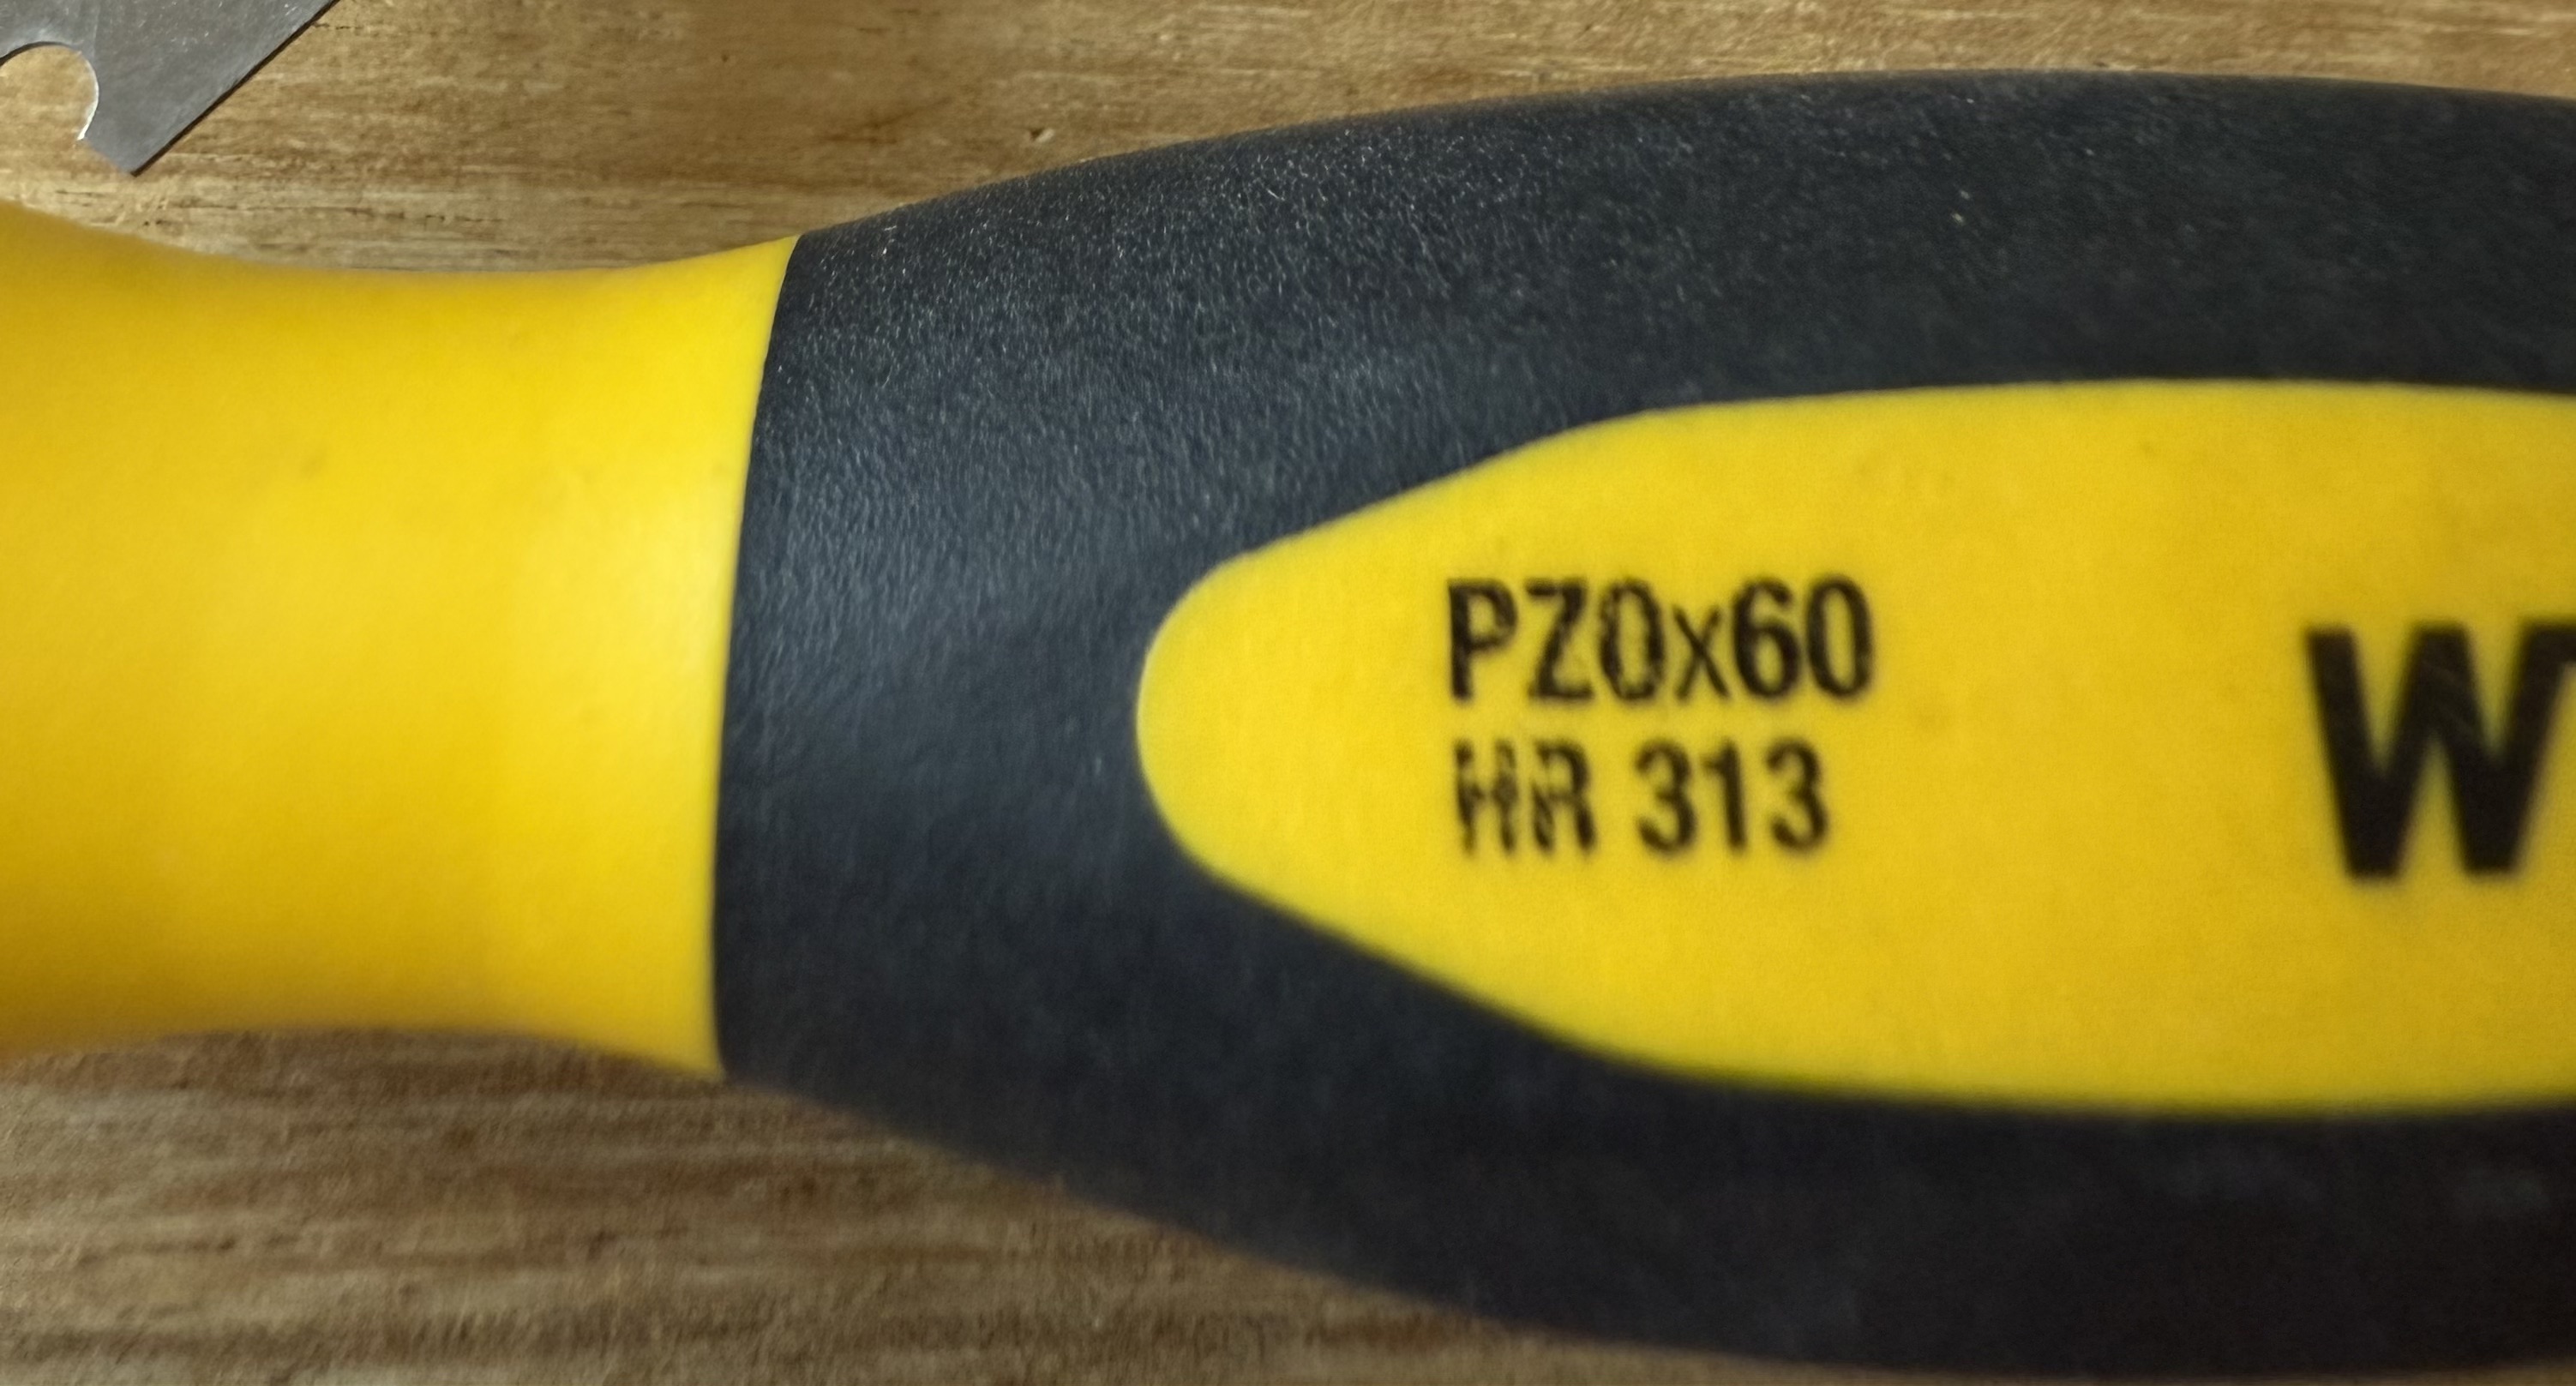
- Wiha PZ0x60 HR313 screwdriver
- Tiny tweezers for the springs
- Soldering iron
- Storage box with many compartments for holding the screws and other parts
- Flatnose pliers, for bending metal
- Size 3 flat screwdriver, for bending metal
- Tin, Flux
- Q-tips
- Isopropyl Alcohol for cleaning
- Grease
- Light oil
Disassembly
Step one in disassembly are the screws on the outside of the case.
There are two screws holding the door in place, and three more holding the front. These screws have different sizes.
Tip:
- Make a photo before removing the screw
- Remove the screw, place it in a compartment of the container
- Make a photo of the container with the screw compartment centered
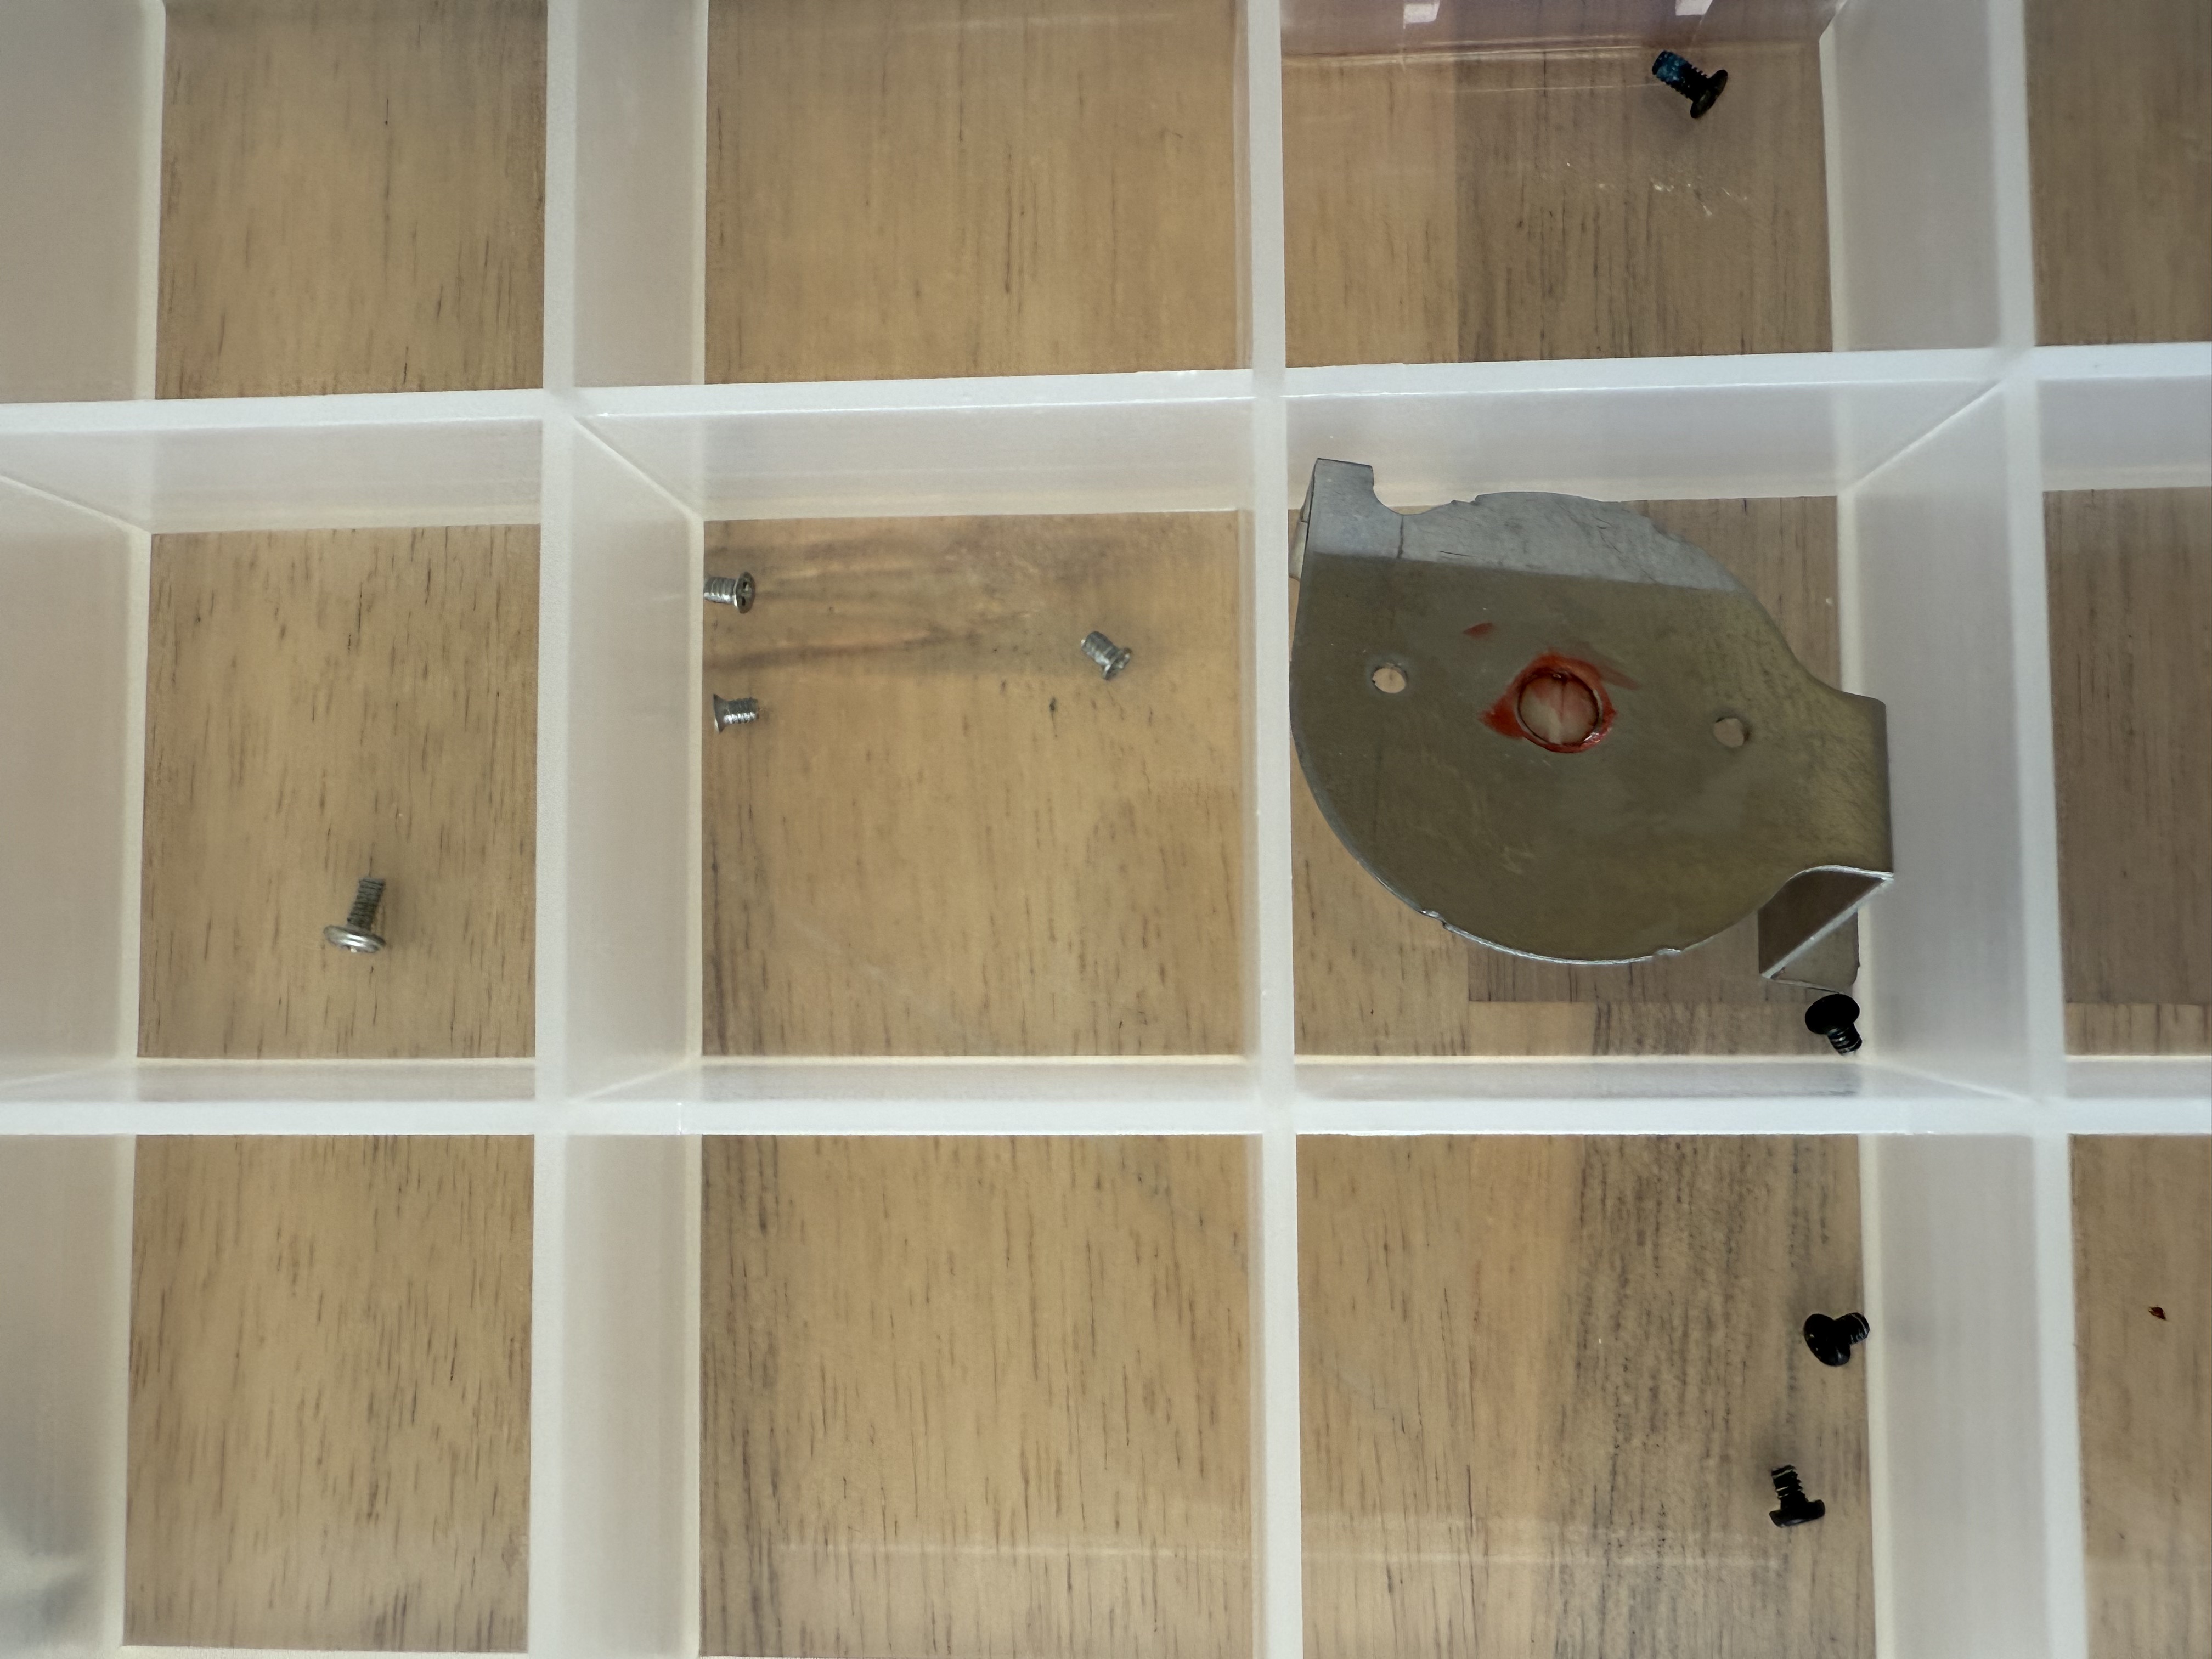
With this process, during assembly it is pretty simple to find out what part goes where. Make sure it is clear from the photo alone, which location on the device and which compartment the screw is in.
Once the door and front are off, you can undo the screws of the PCB.
Careful with the tiny wires, they don’t need much force to break.
Take enough pictures so that you know which wire goes where, in case they do break.
When the screws are loose, lift the PCB. The main gear will be visible. Rotate it manually and find if it is cracked, order a replacement main gear from Fix Your Audio. The Sony DD has the same gear as the TCM-D3 apparently. Or they are not too different.
To be able to access the mechanics, you will need to desolder the tape head from the PCB.
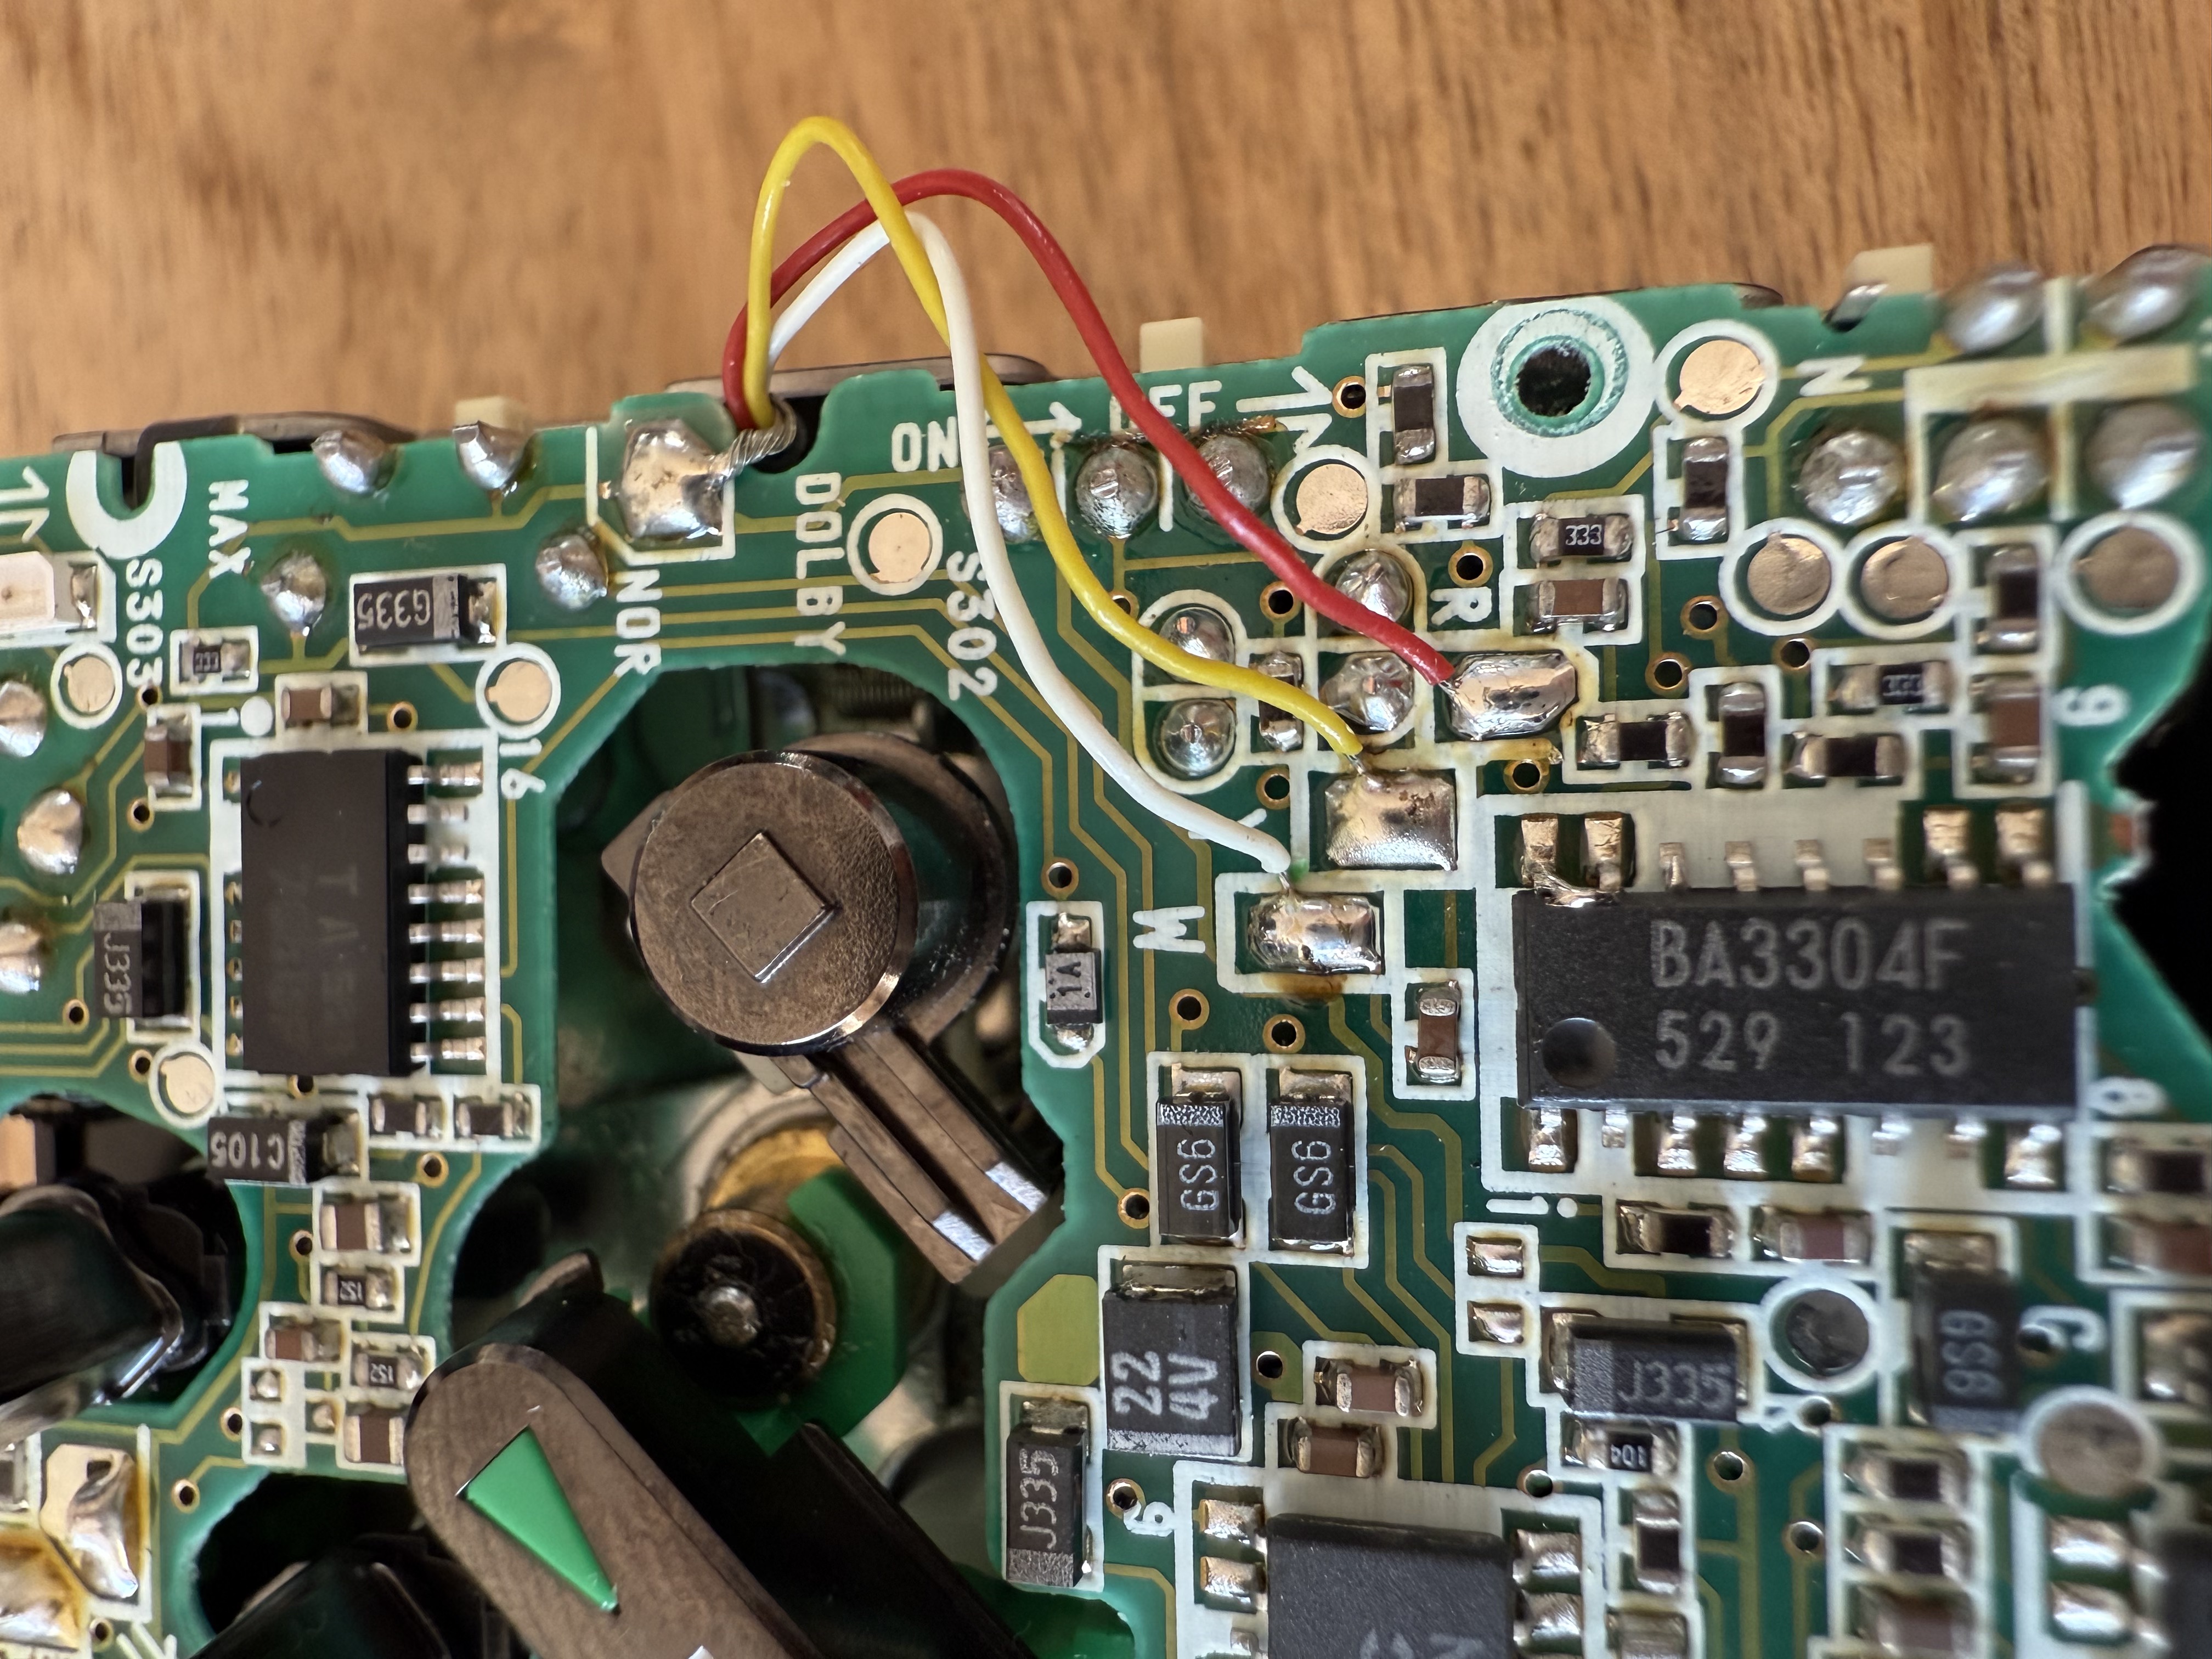
There are four wires: ground (unshielded) in the top right, white, yellow and red. The PCB silkscreen helpfully shows single letters indicating the wire colors. (Nice attention to detail, Sony!)
Once the wires are desoldered, stow away your soldering iron. You’ll need it again to fix these wires at the end.
Flip the PCB over, careful not to break any of the other wires.
Remove the Play, Stop, Fast Forward and Fast Reverse buttons. After removing the button, also remove the lever below it. The Stop lever is held in place with a tab. Force it out.
Remove the capstan wheel by removing its cover and the three screws on the tape side.
Remove the motor.
Remove the gear that is secured with a screw on top.
Remove the audio head lever by first removing the snap ring, then the tiny spring, then gently wiggle it out.
The lever is held in place by the plastic frame of the tape head on the tape side. Hold the tape head up
while pulling the lever out. Take your time. Gentle.
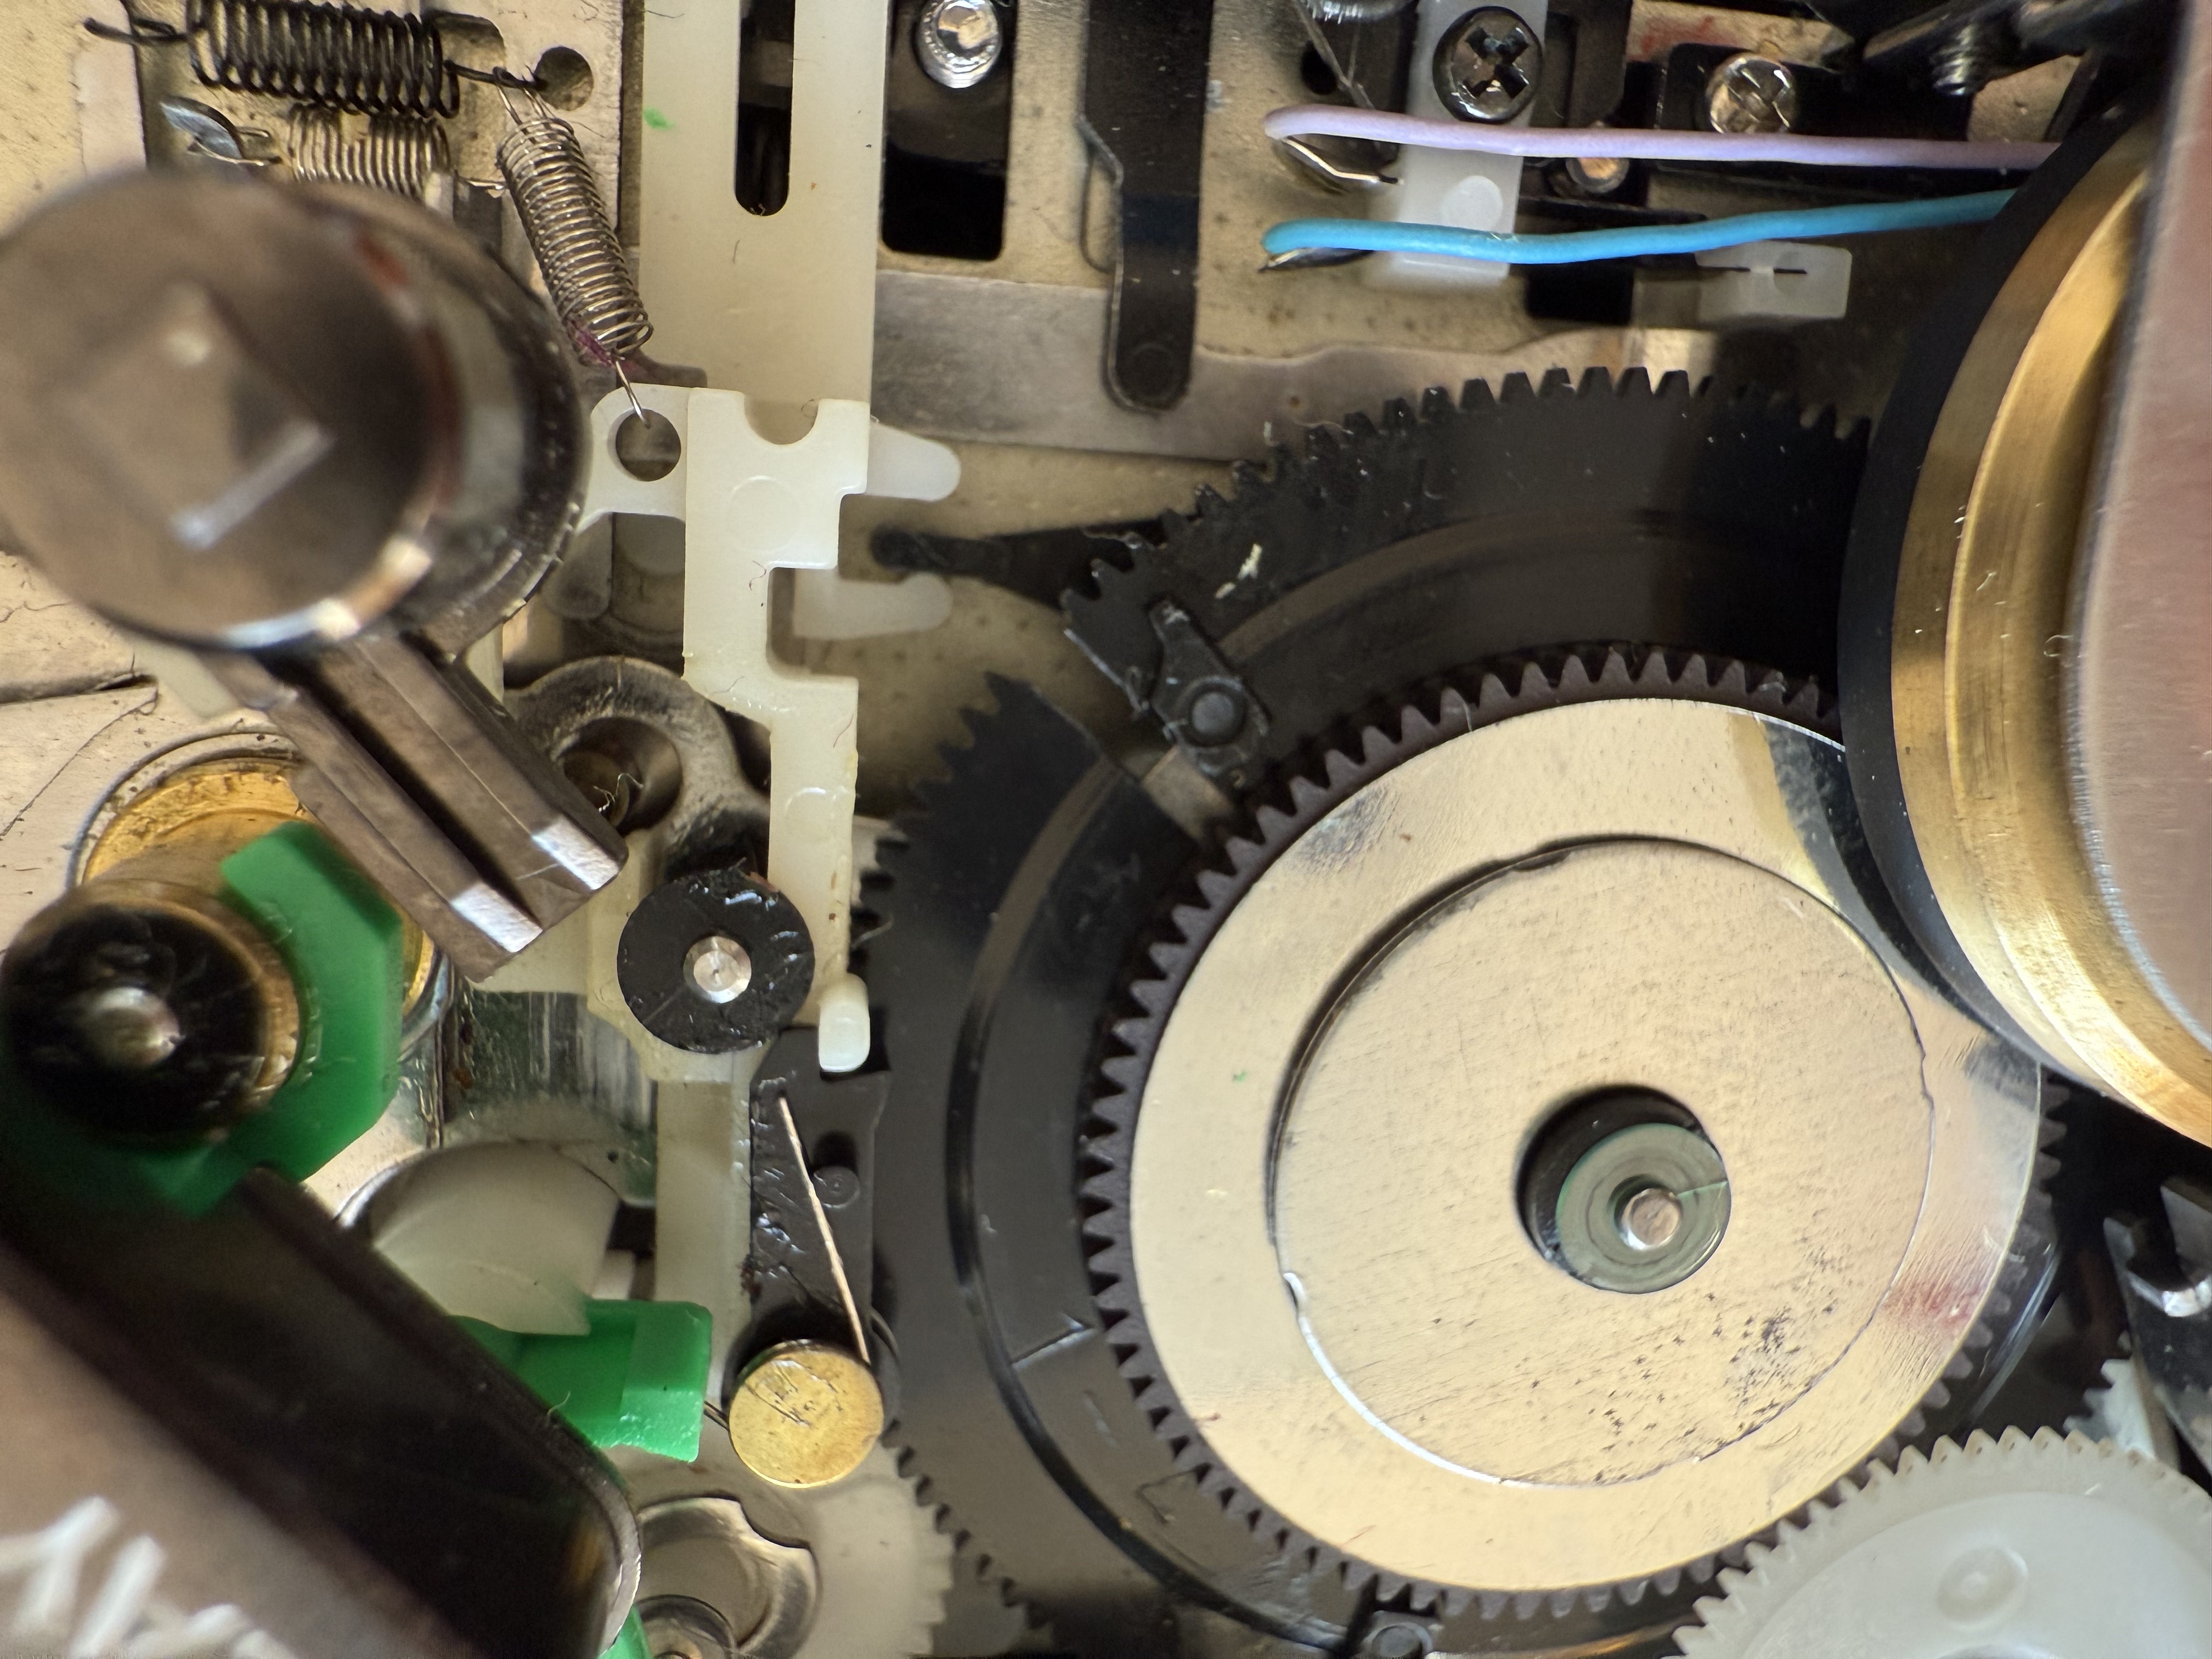
Pull the main gear assembly up. Do this gently. There is a spring below that wants to fly. Move slowly, then the spring will relax and stay where it is.
Main gear repair
The Fix Your Audio manual shows that the main gear must be separated from its accompanying smaller gear on top.
I’ve tried, but these two gears are inseparable. Maybe the DD walkman has a slightly different main gear stackup.
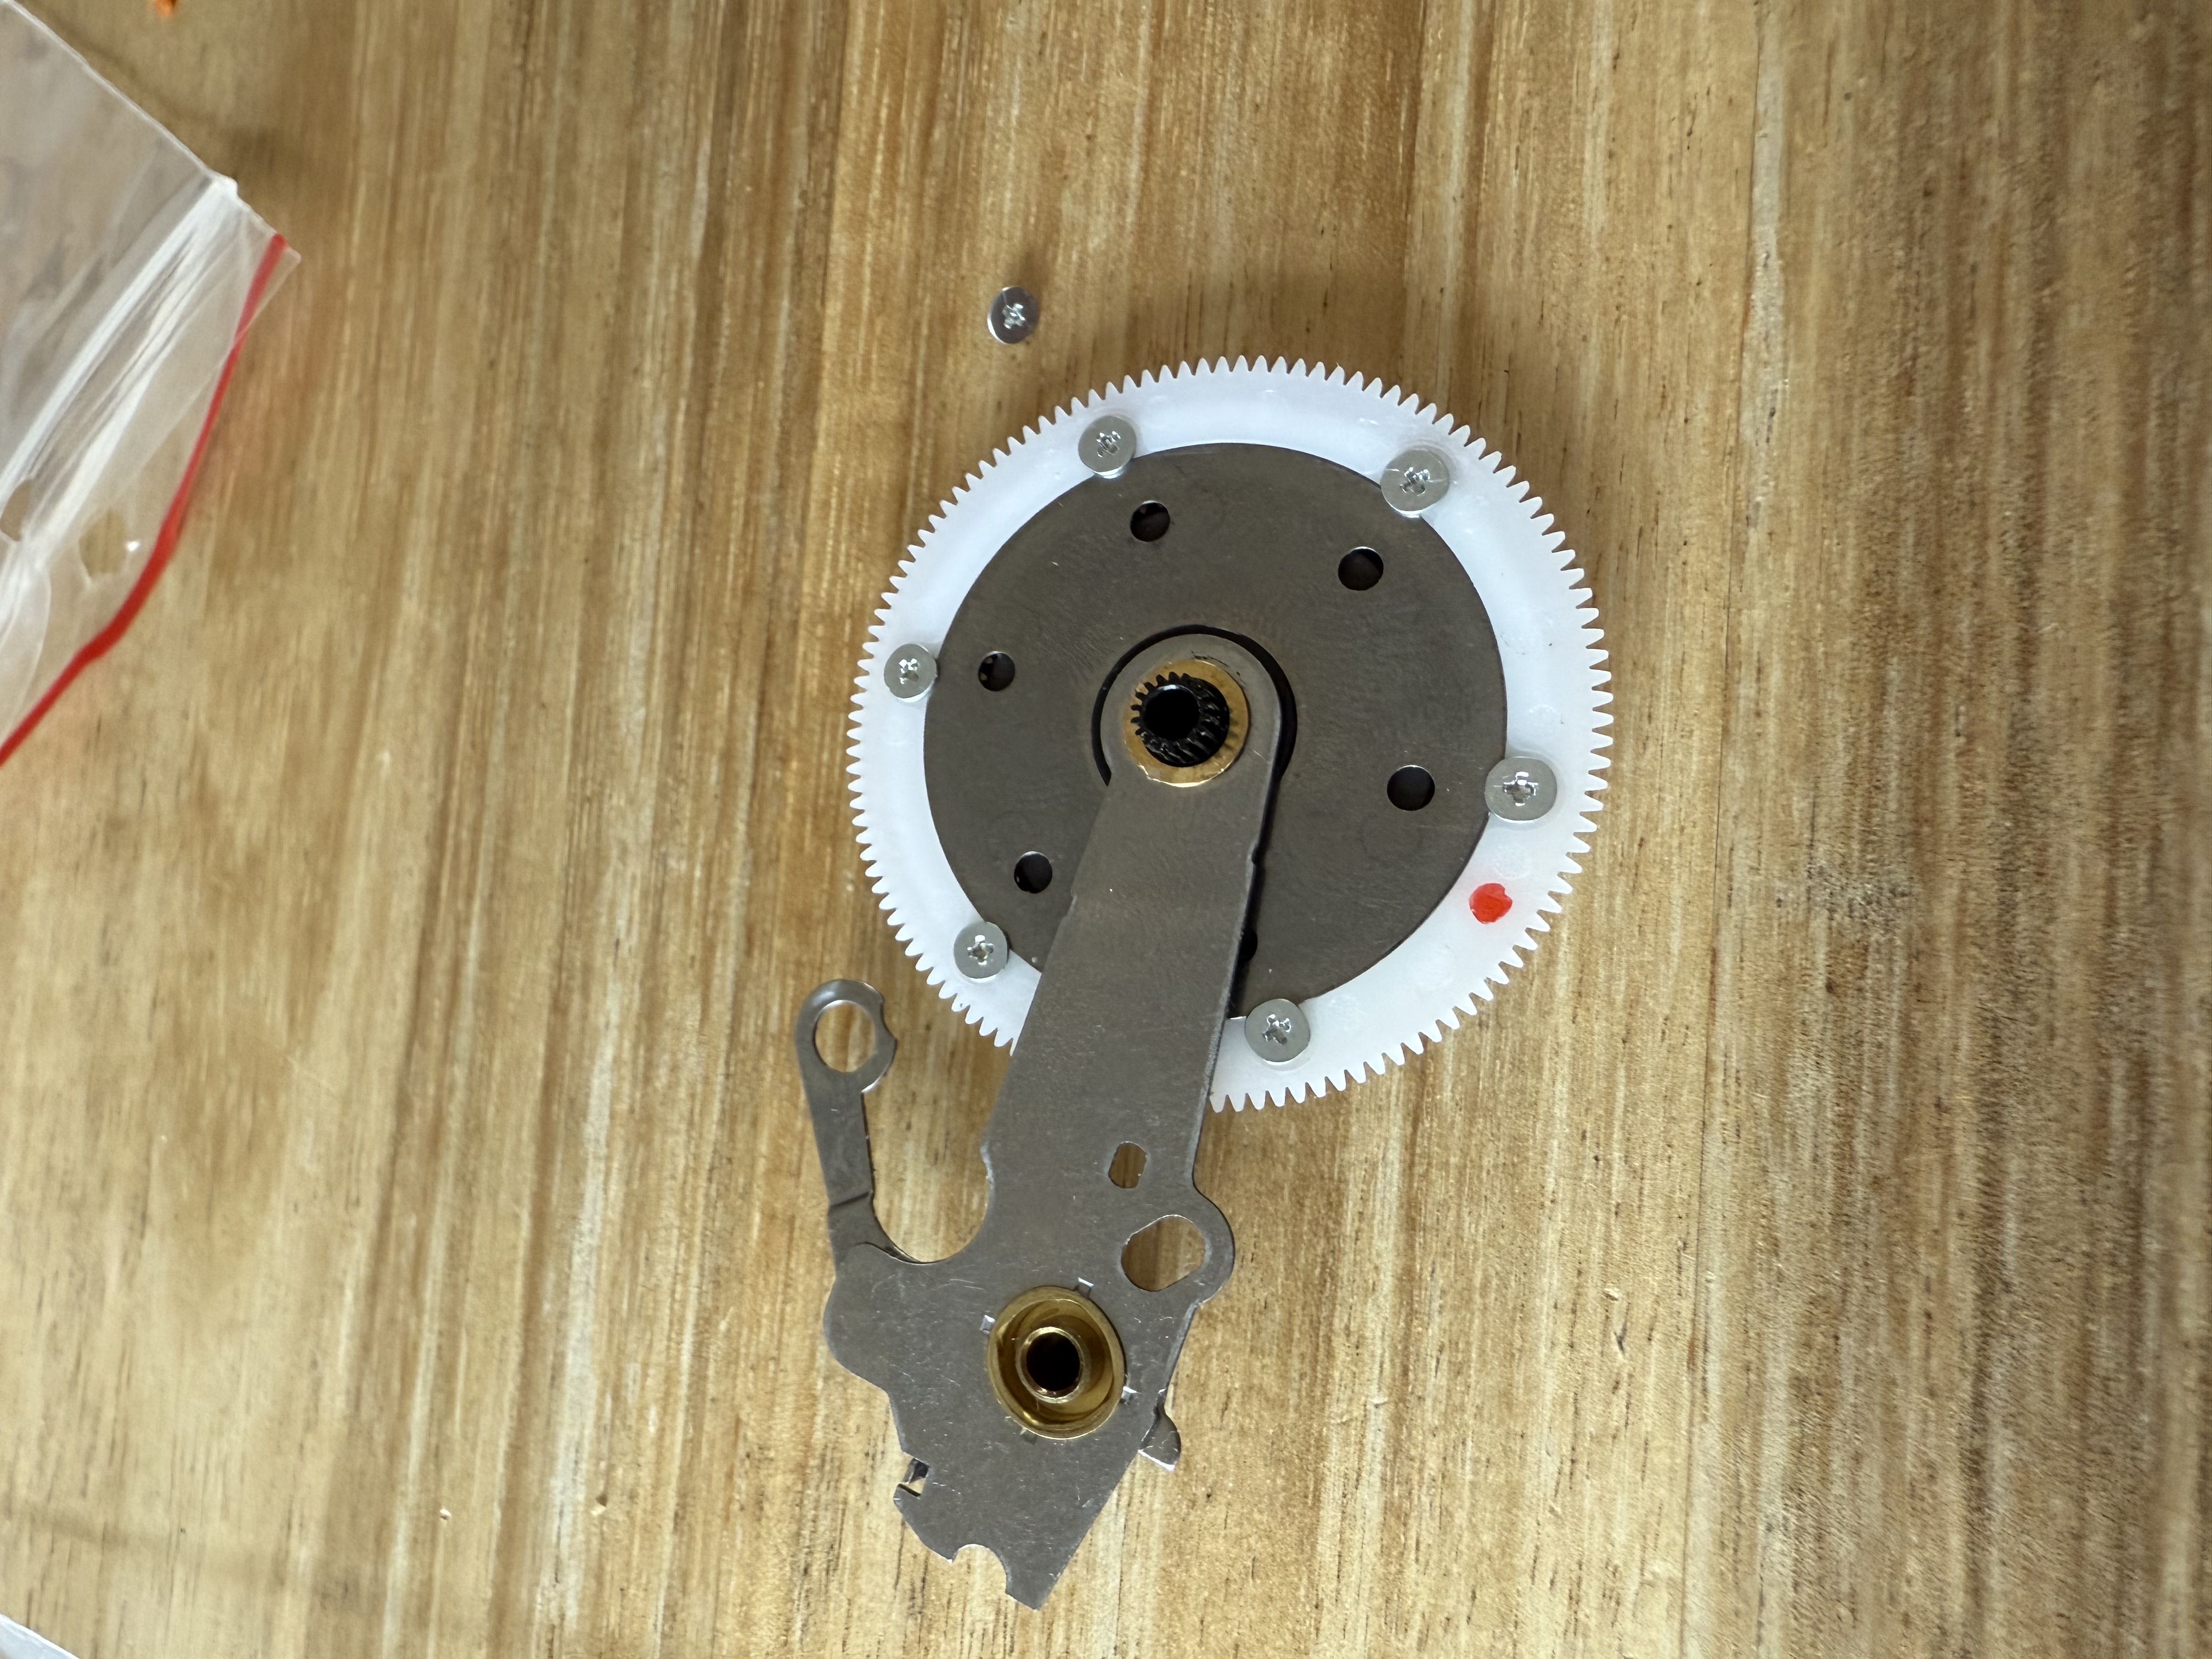
Anyway, the broken gear can easily be removed from its metal support. The replacement part is screwed on. So there is actually no need to separate the top gear from the stack.
Note the red dot, indicating the bottom of the plastic gear. This makes it much easier easy to mount the gear with the correct side up!
Fix Your Audio did a nice job of creating a repair part. This part is designed by someone with a Walkman passion. Marking the components with color ink to indicate top / bottom shows how thoughtful they are of the repairmen.
Cleaning and lubricating
Clean the moving parts. The sliding bushings can be cleaned on the inside using a paper rod Q-tip:
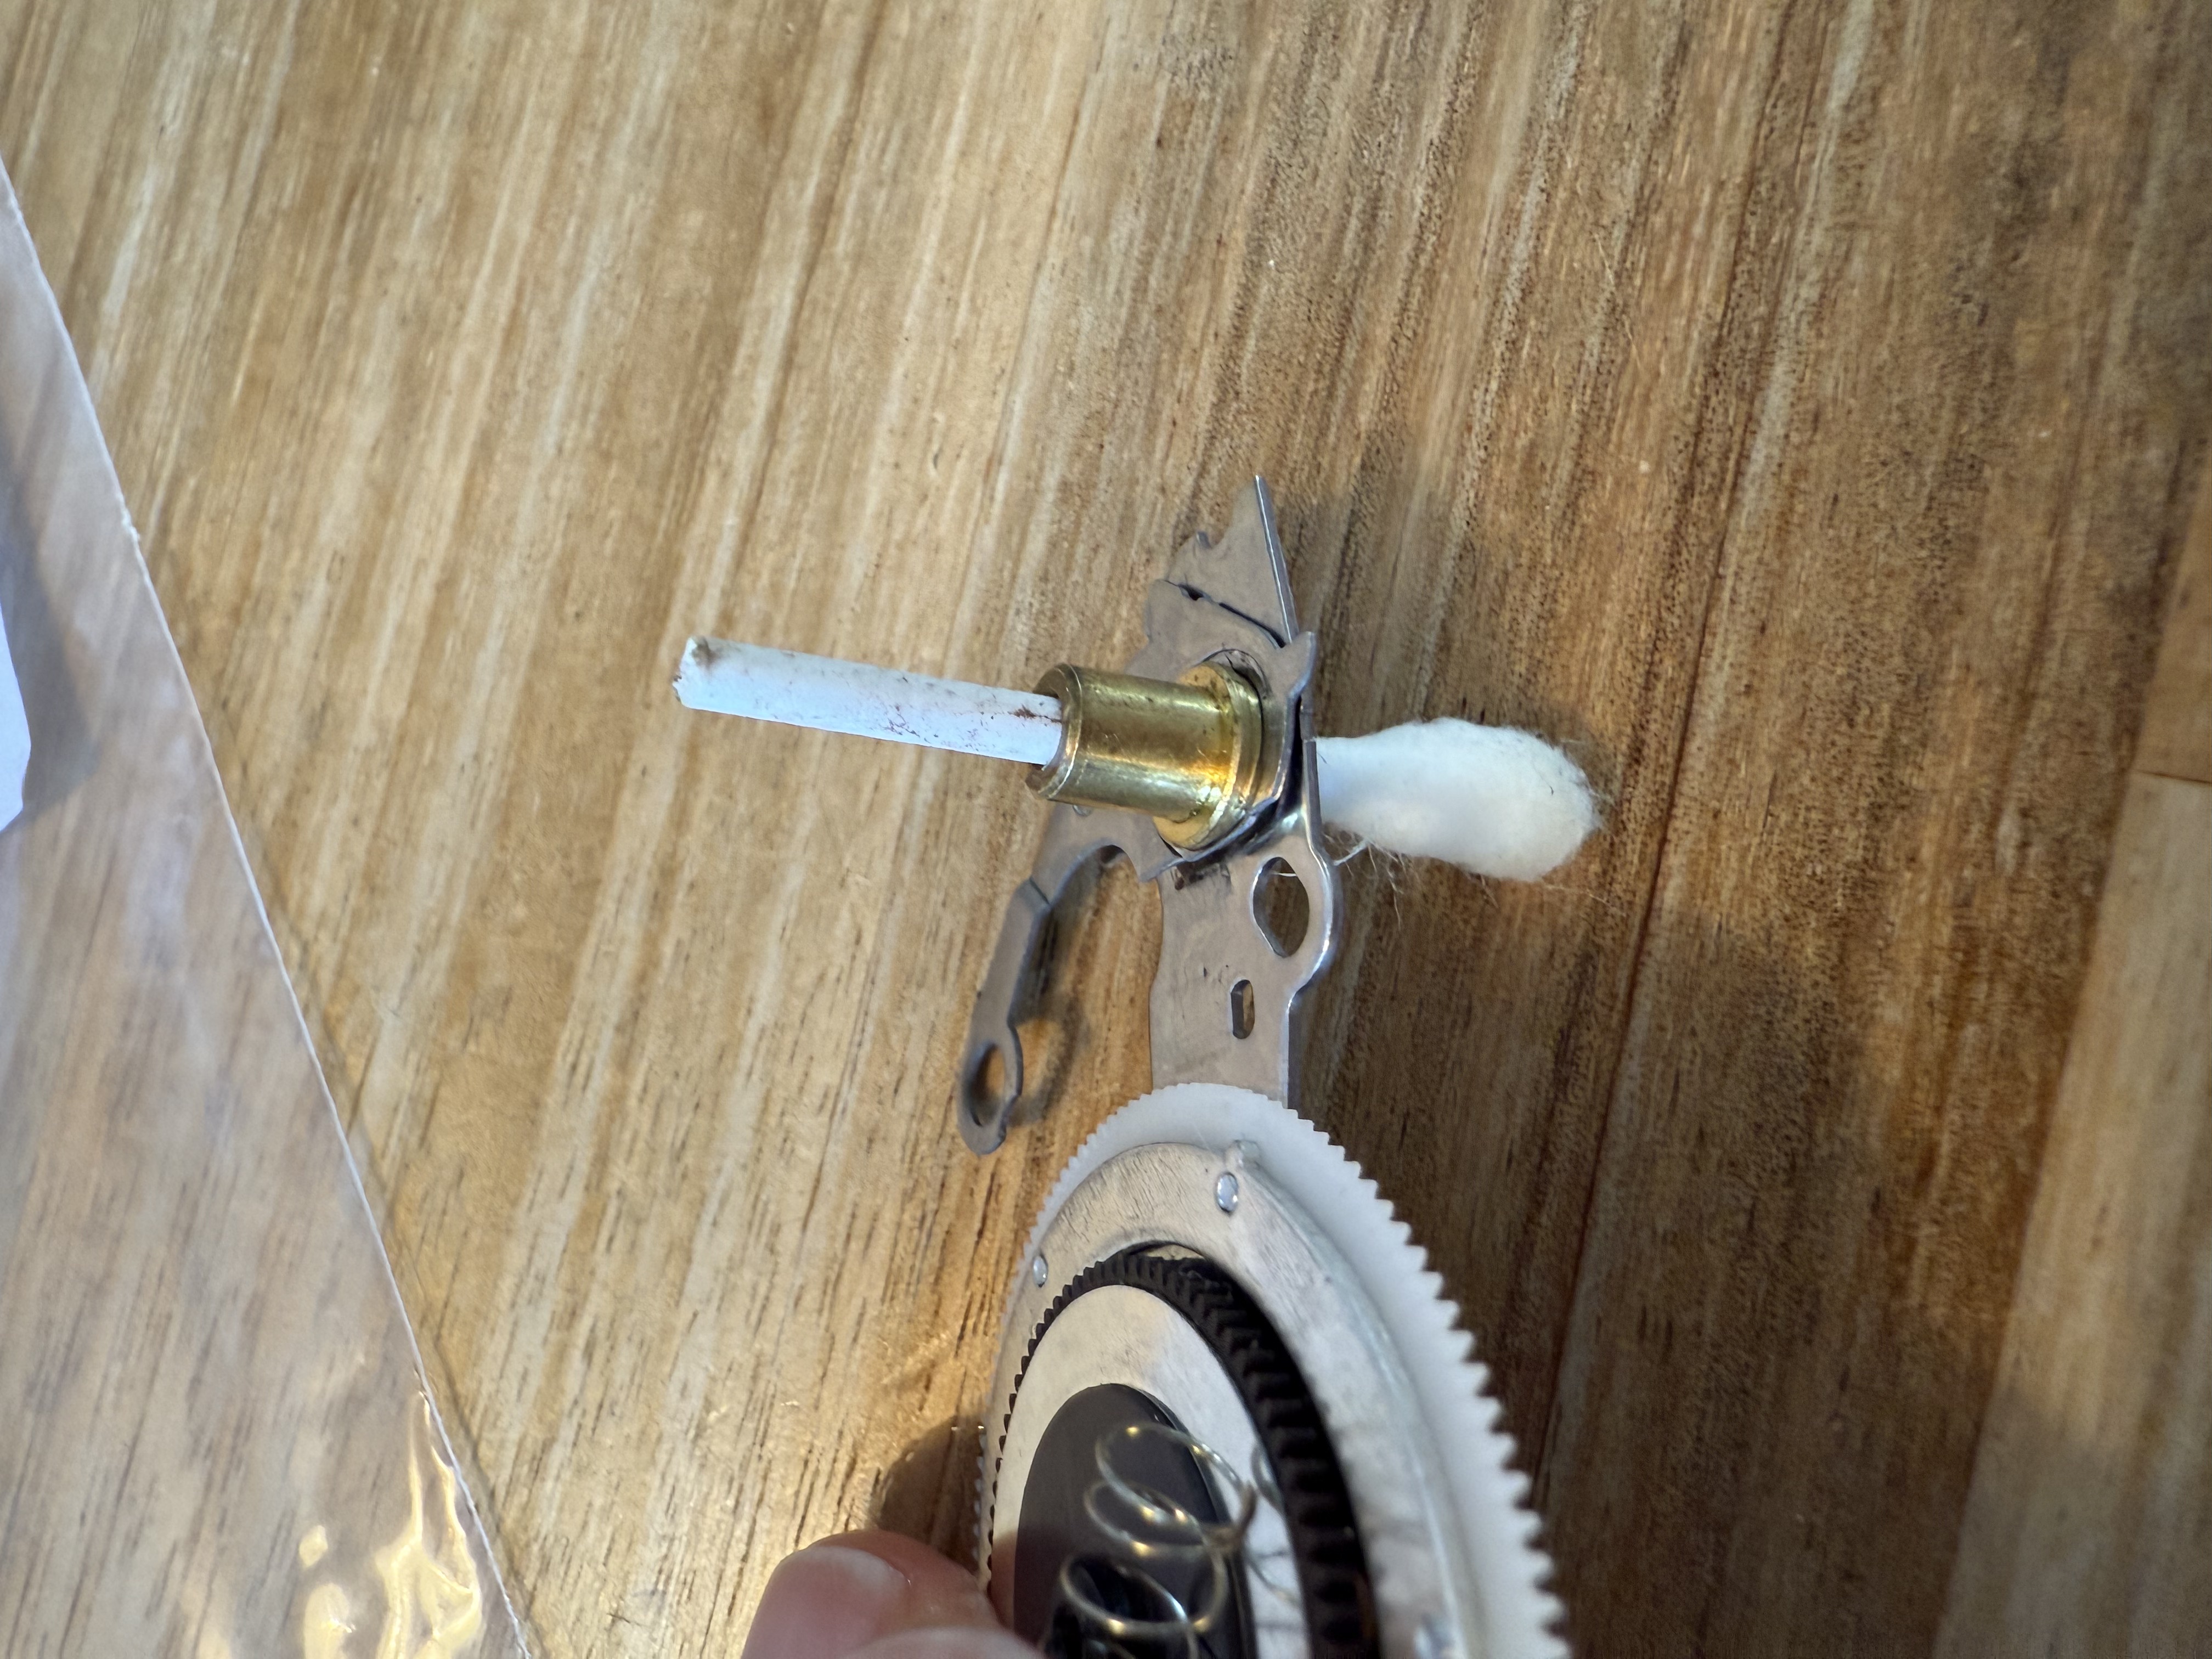
Clean the button levers and travel ways. This should free up the buttons.
With the main gear and button action fixed, it is time to look at the Fast Reverse action.
First place back gears, capstan wheel, and buttons.
The reverse action issue happens due to a metal lever being bend. Probably a mix of stuck buttons, user pressing hard and aging makes the lever bend downwards. When the lever is too low during Fast Reverse, it inadvertently engages the fast forward gear, causing the reel drive spindles to rotate in opposite directions.
The metal sheet can be bent back up using pliers:
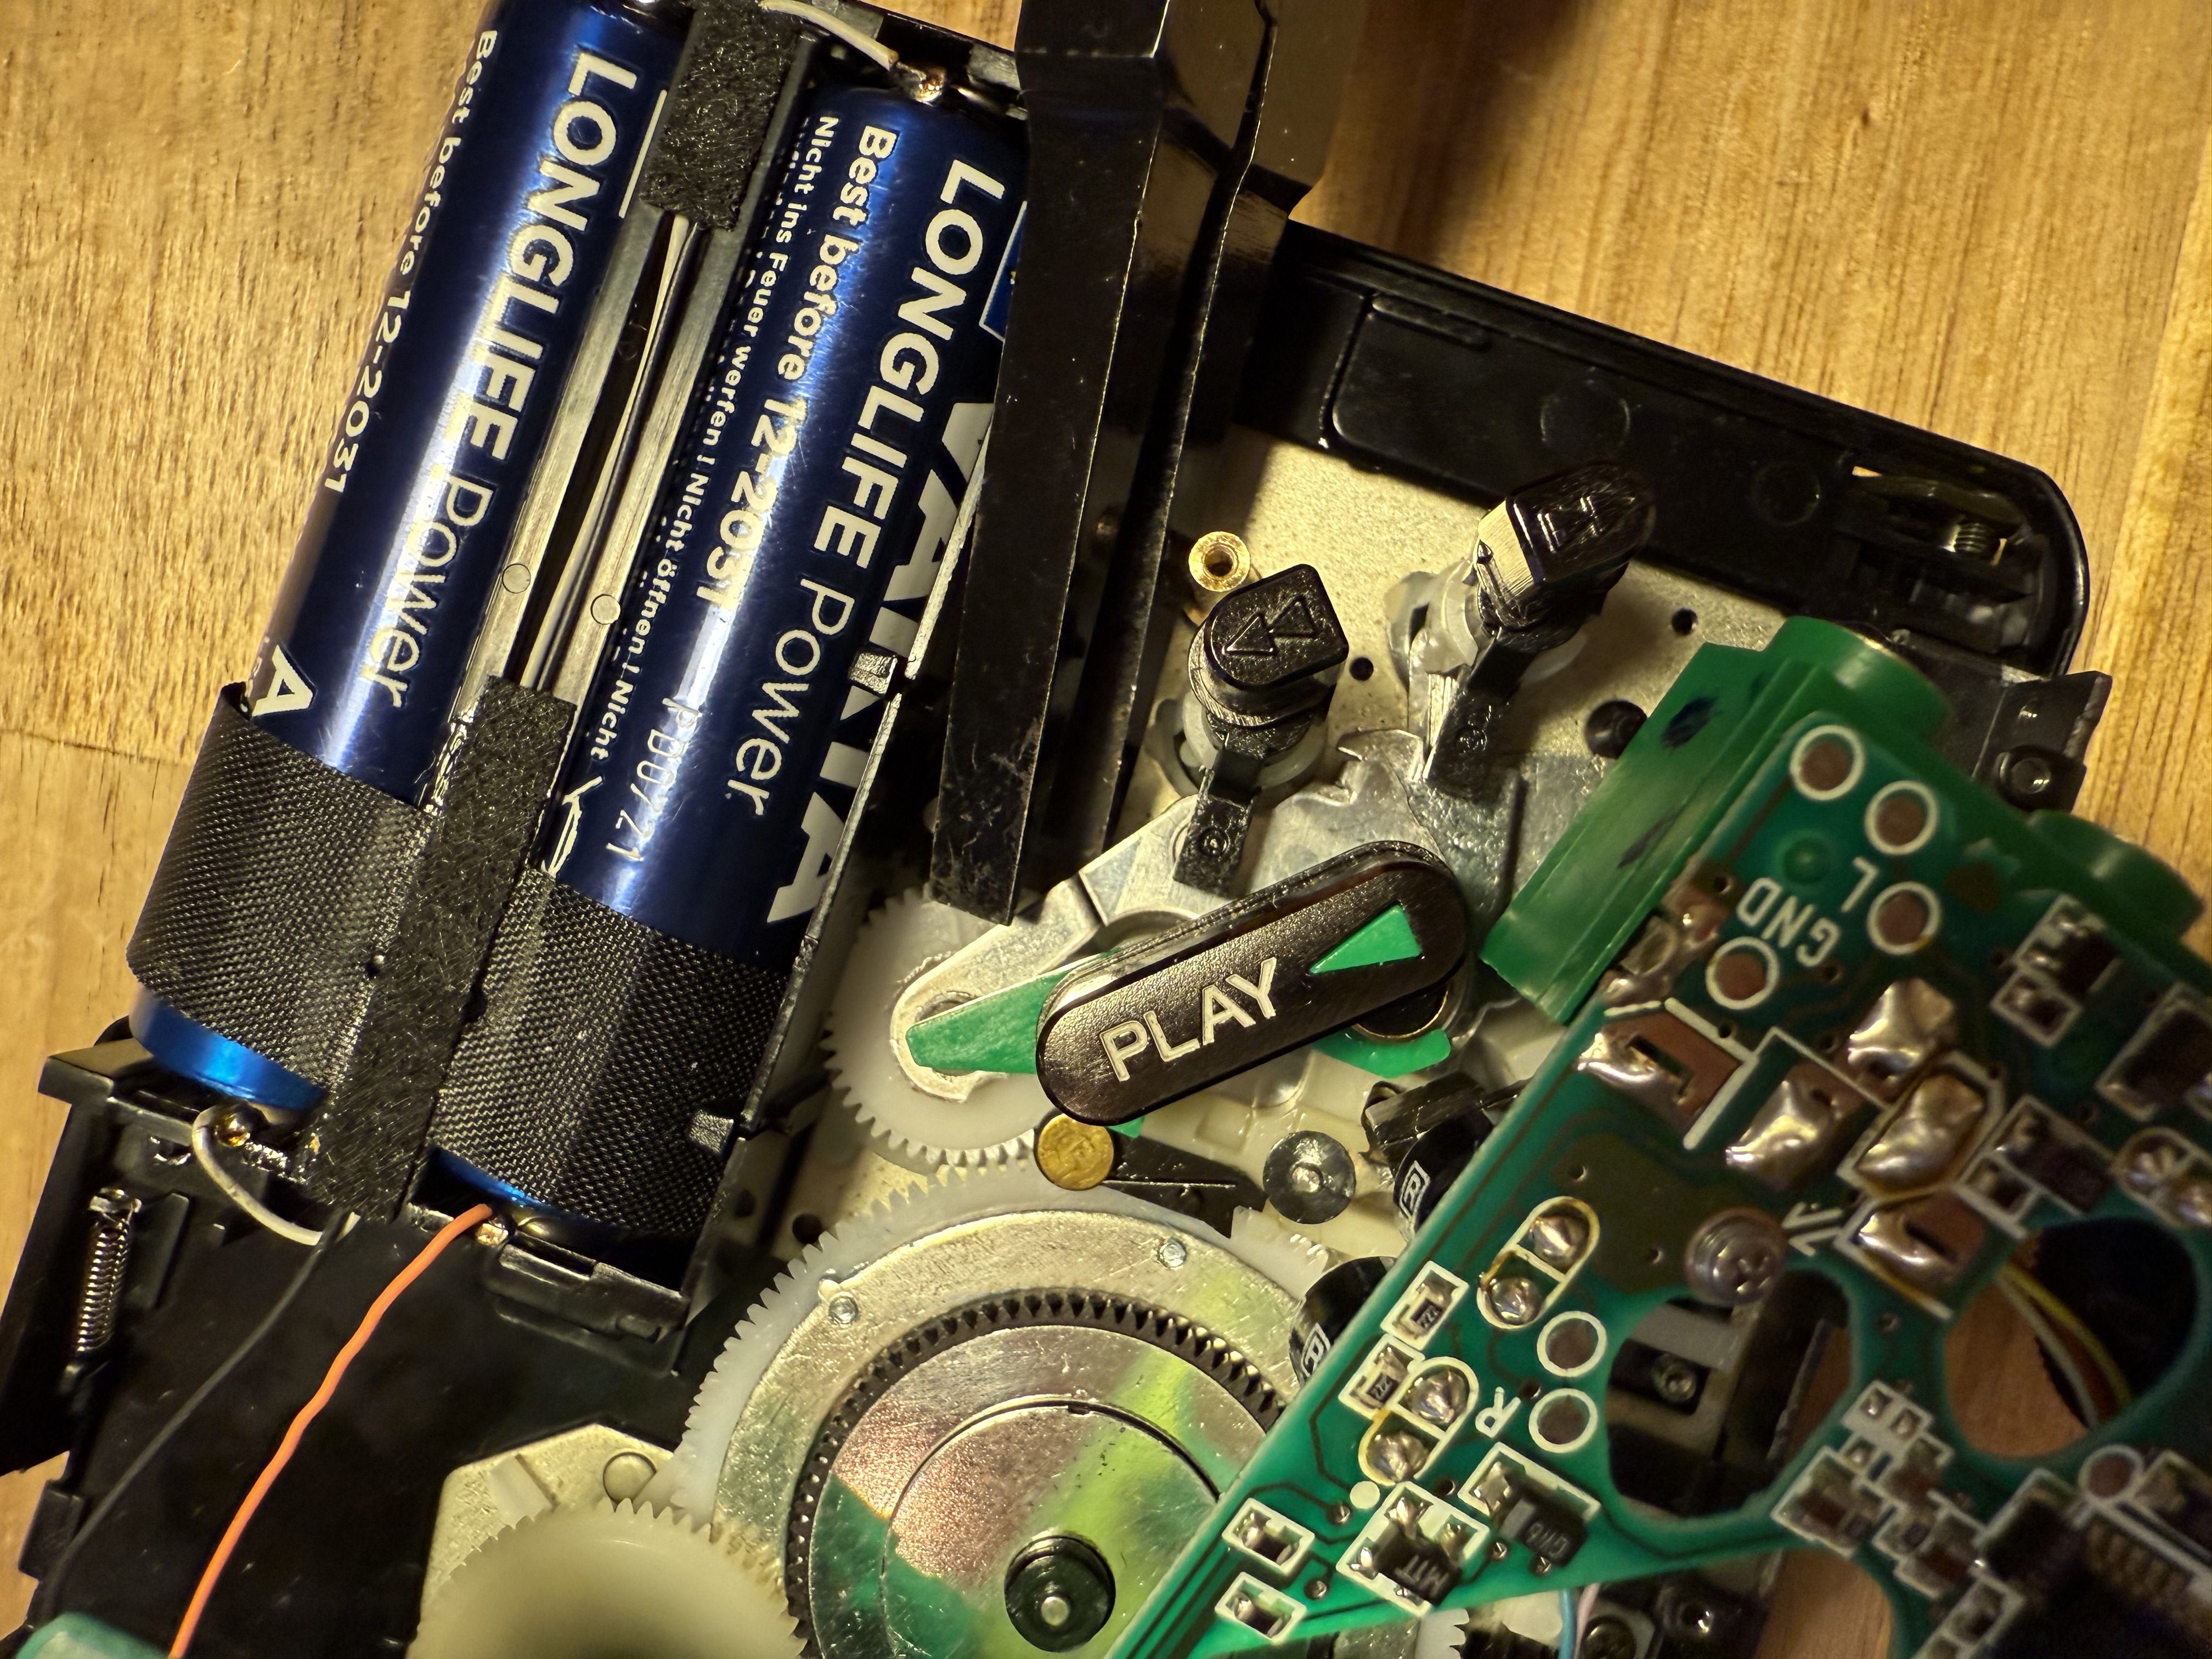
Use a screwdriver to keep the middle of the lever down, while lifting the gear side up. Bend a little, then test, then bend a bit more. Repeat this until the reverse action works both this side up as well as tape side up. Then bend a bit more again.
Now, reassemble the Walkman and enjoy some music from 1995!
