Berik's blog
A log of repairs and creations
Repairs
- Music unscrewed
- Friendly repair for a friend
- Osqar shines bright
- Sugden A25 - Professional Repair
- Sony DD Walkman: Broken Main Gear Replacement
- THE BILLIARD COMPUTER IS BACK ONLINE!
- Computer Speaker Jack Replacement
- Under Pressure: Breathing Life into a Medical Device
- Stuck in Spin: Reviving a Jammed DVD Tray
Under Pressure: Breathing Life into a Medical Device
Repair Café De Bieb, Utrecht
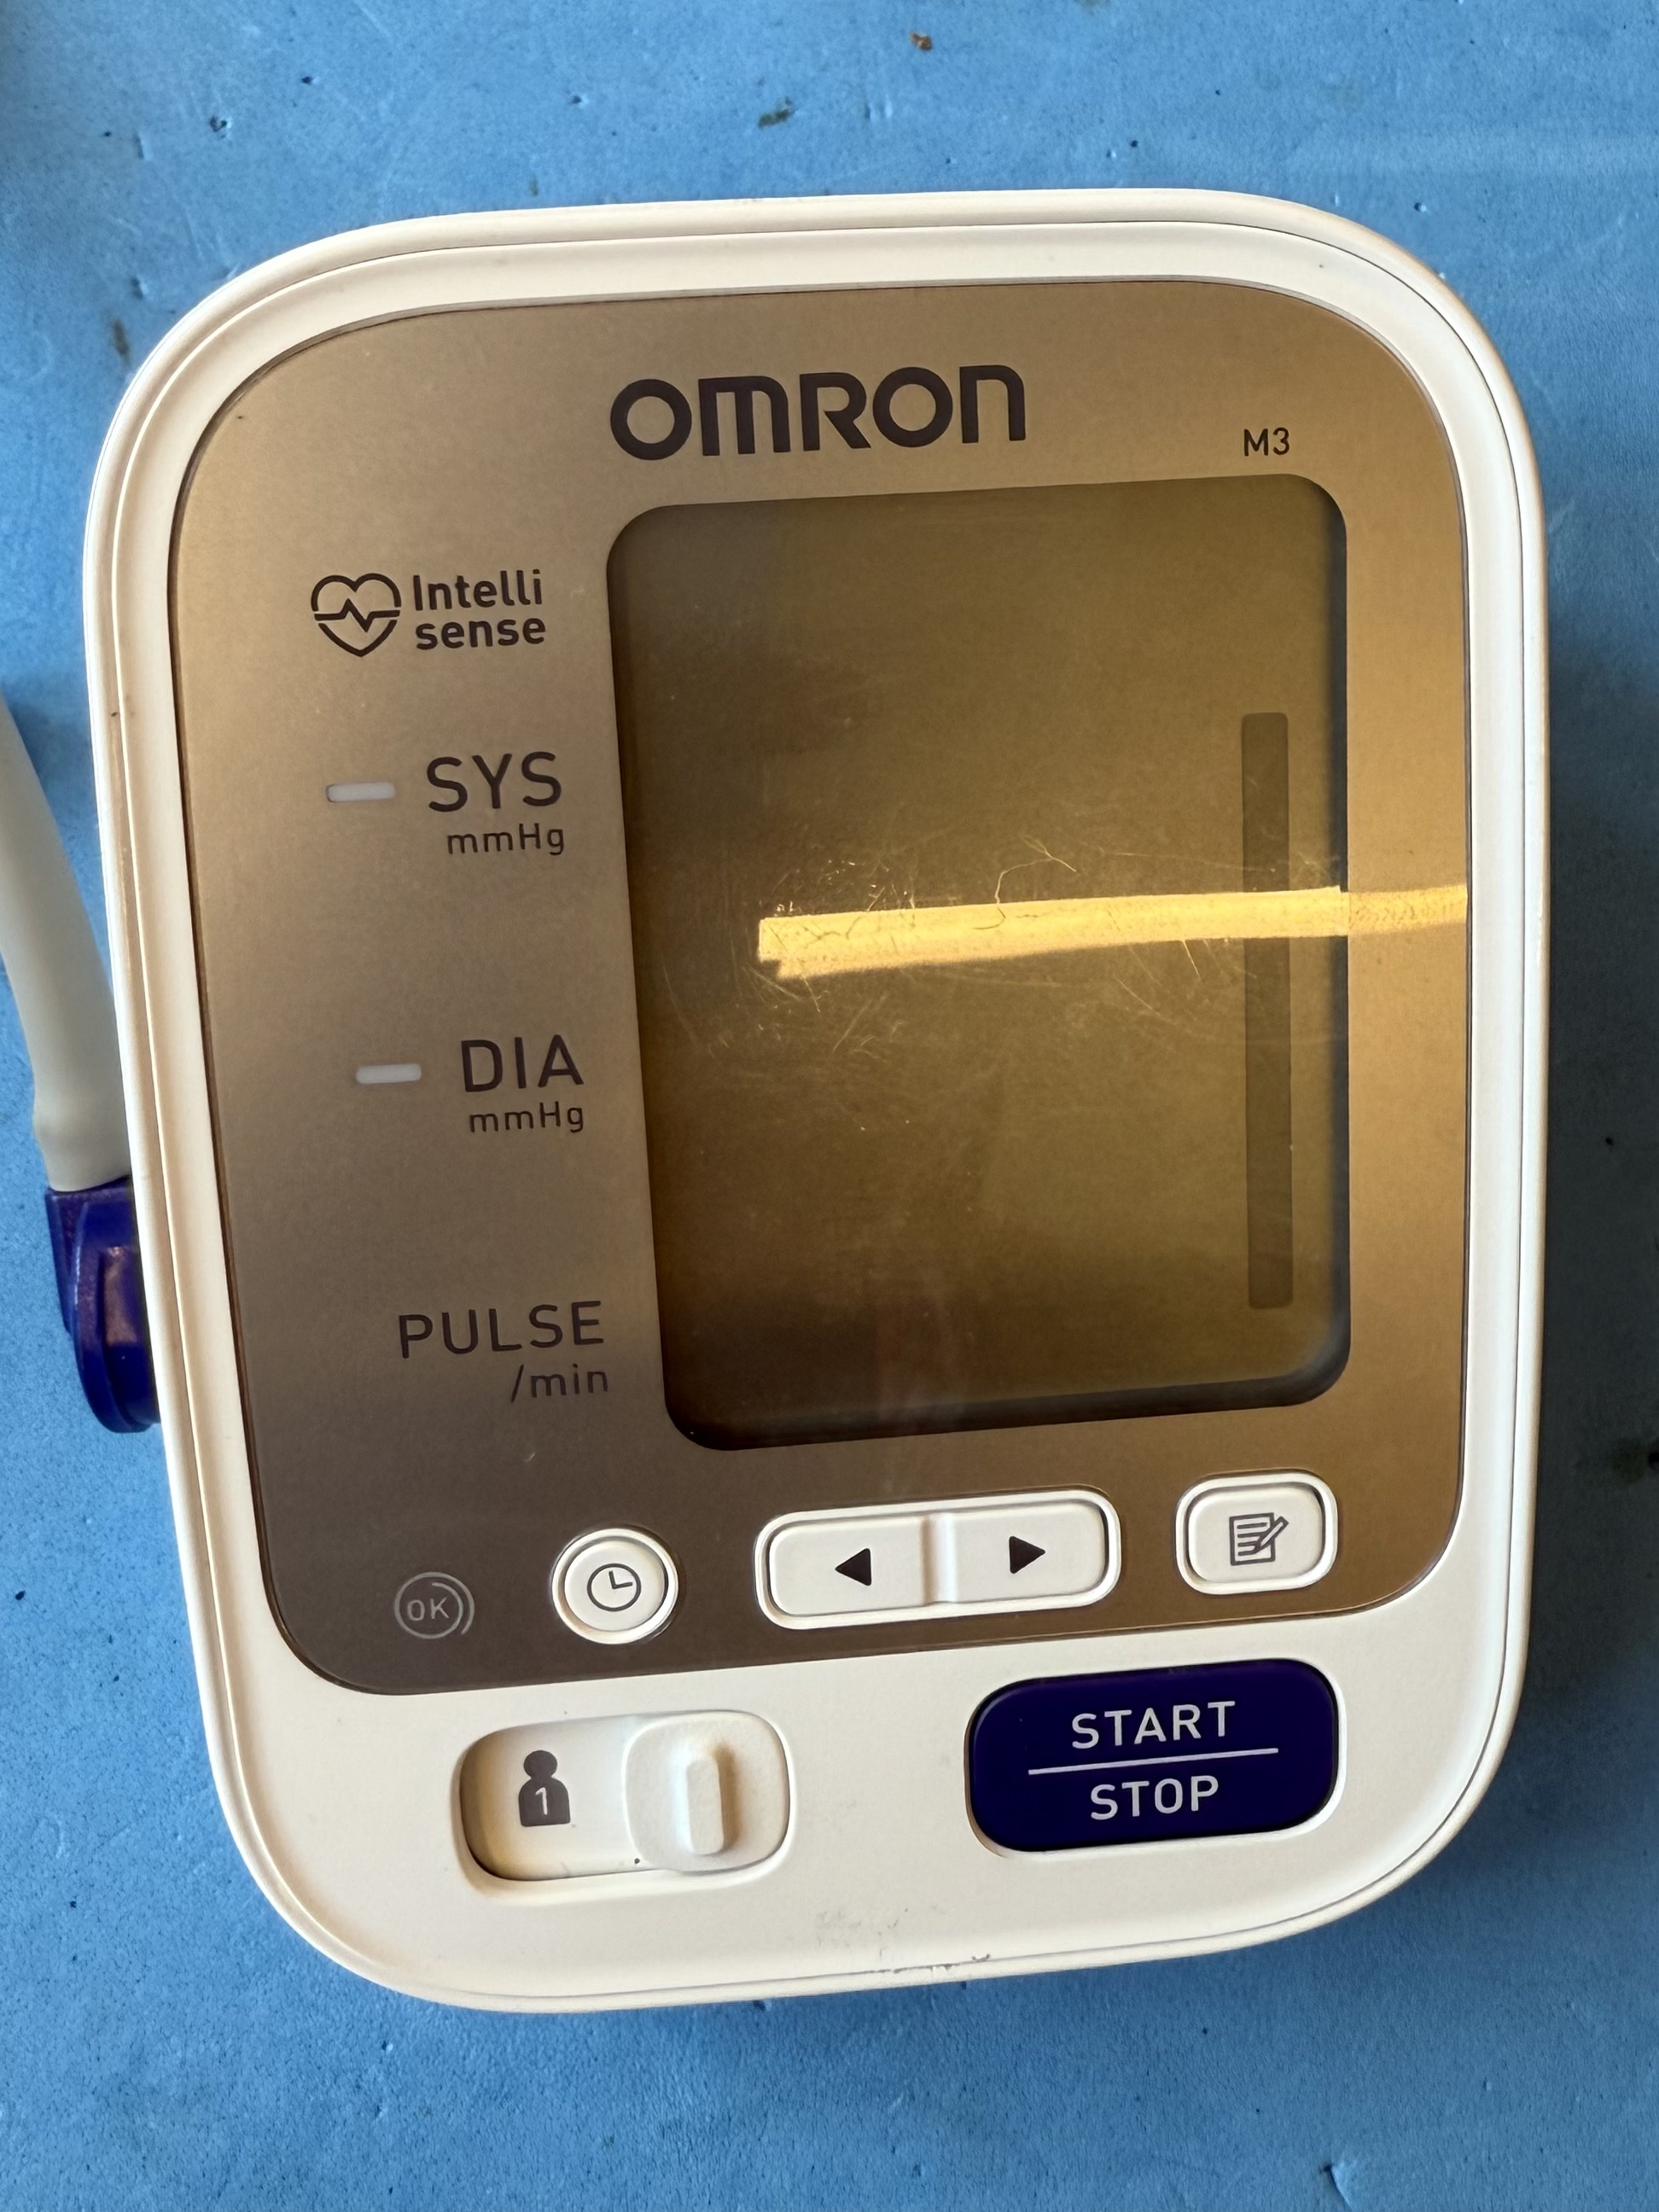
What a treat, a medical device!
Another repairman asks if I can take over this repair. The story of what is broken is not immediately clear. I probably missed some communication. The only thing I hear from the customer is “Does not work!”.
Investigation
Well… The display clearly does something when batteries are inserted. Maybe the batteries are low?
Measuring the battery voltages, they look to be good. Nonetheless, I grab a lab PSU and feed the device 6V over the battery terminals.
Not much changes.
The display shows historical measurements when pressing the left and right arrow buttons. The customer insists that the device does not work. Pressing the Start / Stop button does not start the measurement procedure, which, apparently, it should. I somehow get in the date and time setting mode, without knowing how I got there. Worse, I can’t seem to exit the date and time setting mode.
I try to learn a bit more about the device by reading the Omron M3 online manual. Alas, the manual does not even mention the date and time setting mode. There is also no overview of functions and how to activate them; Bummer.
Enough with the speculation and studying, time for some action!
Open it up
First remove two screws here:
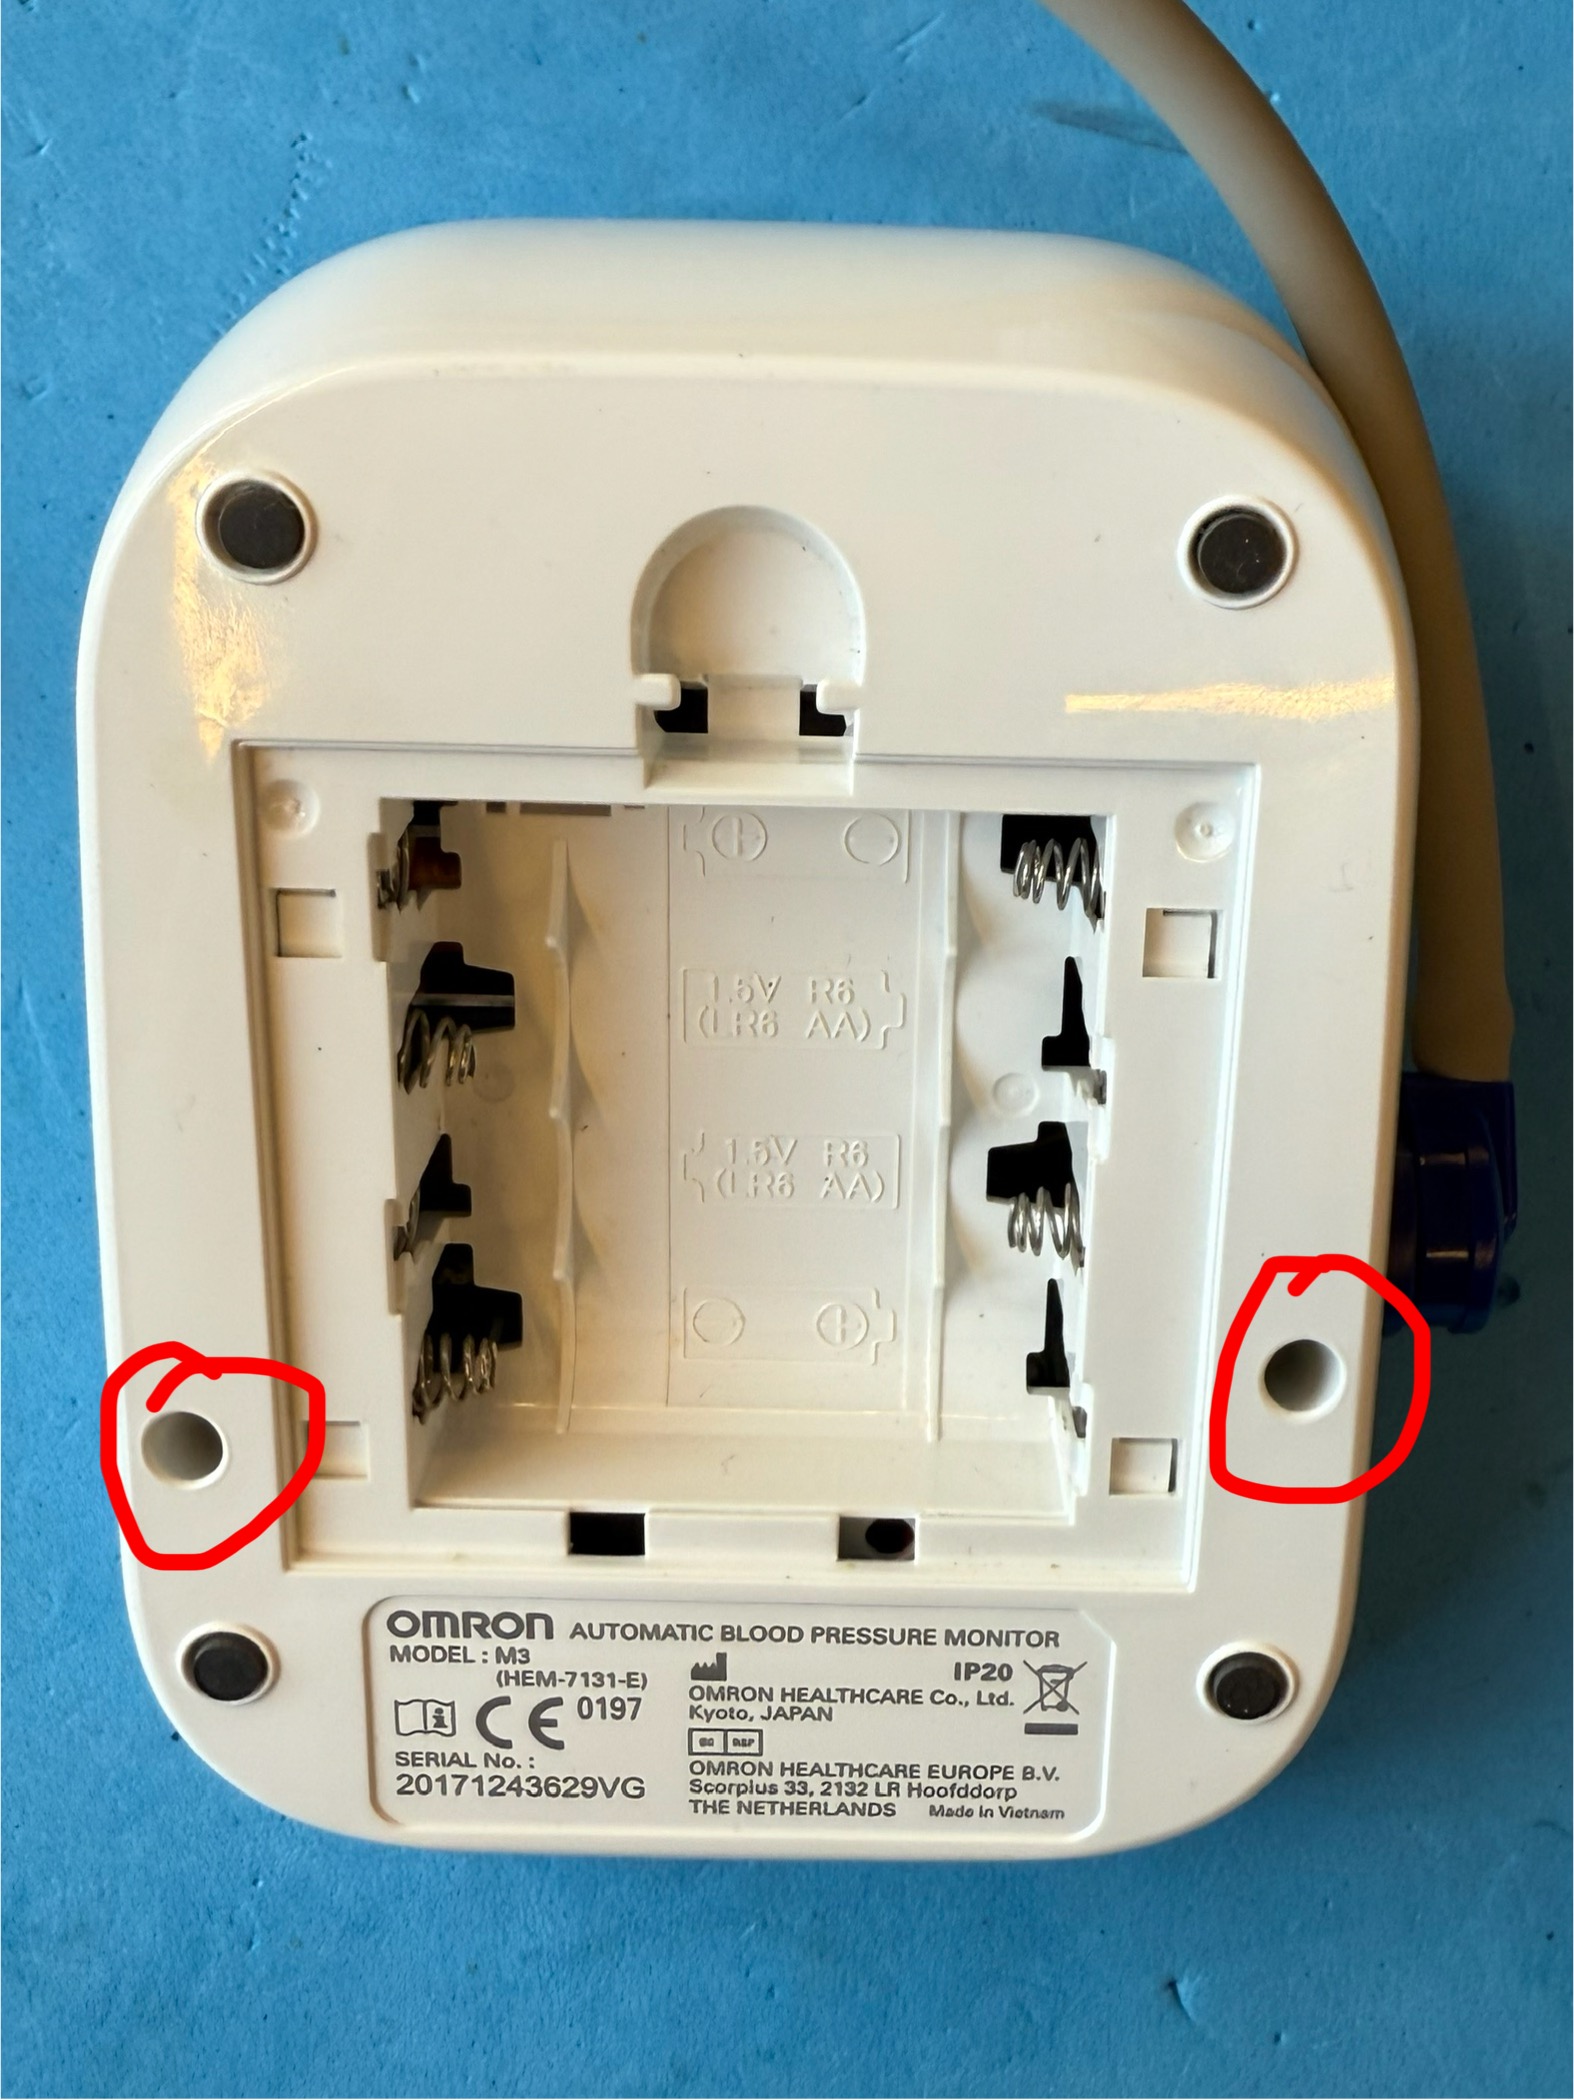
Then remove the front panel by lifting it with a spudger, undoing the plastic tabs:
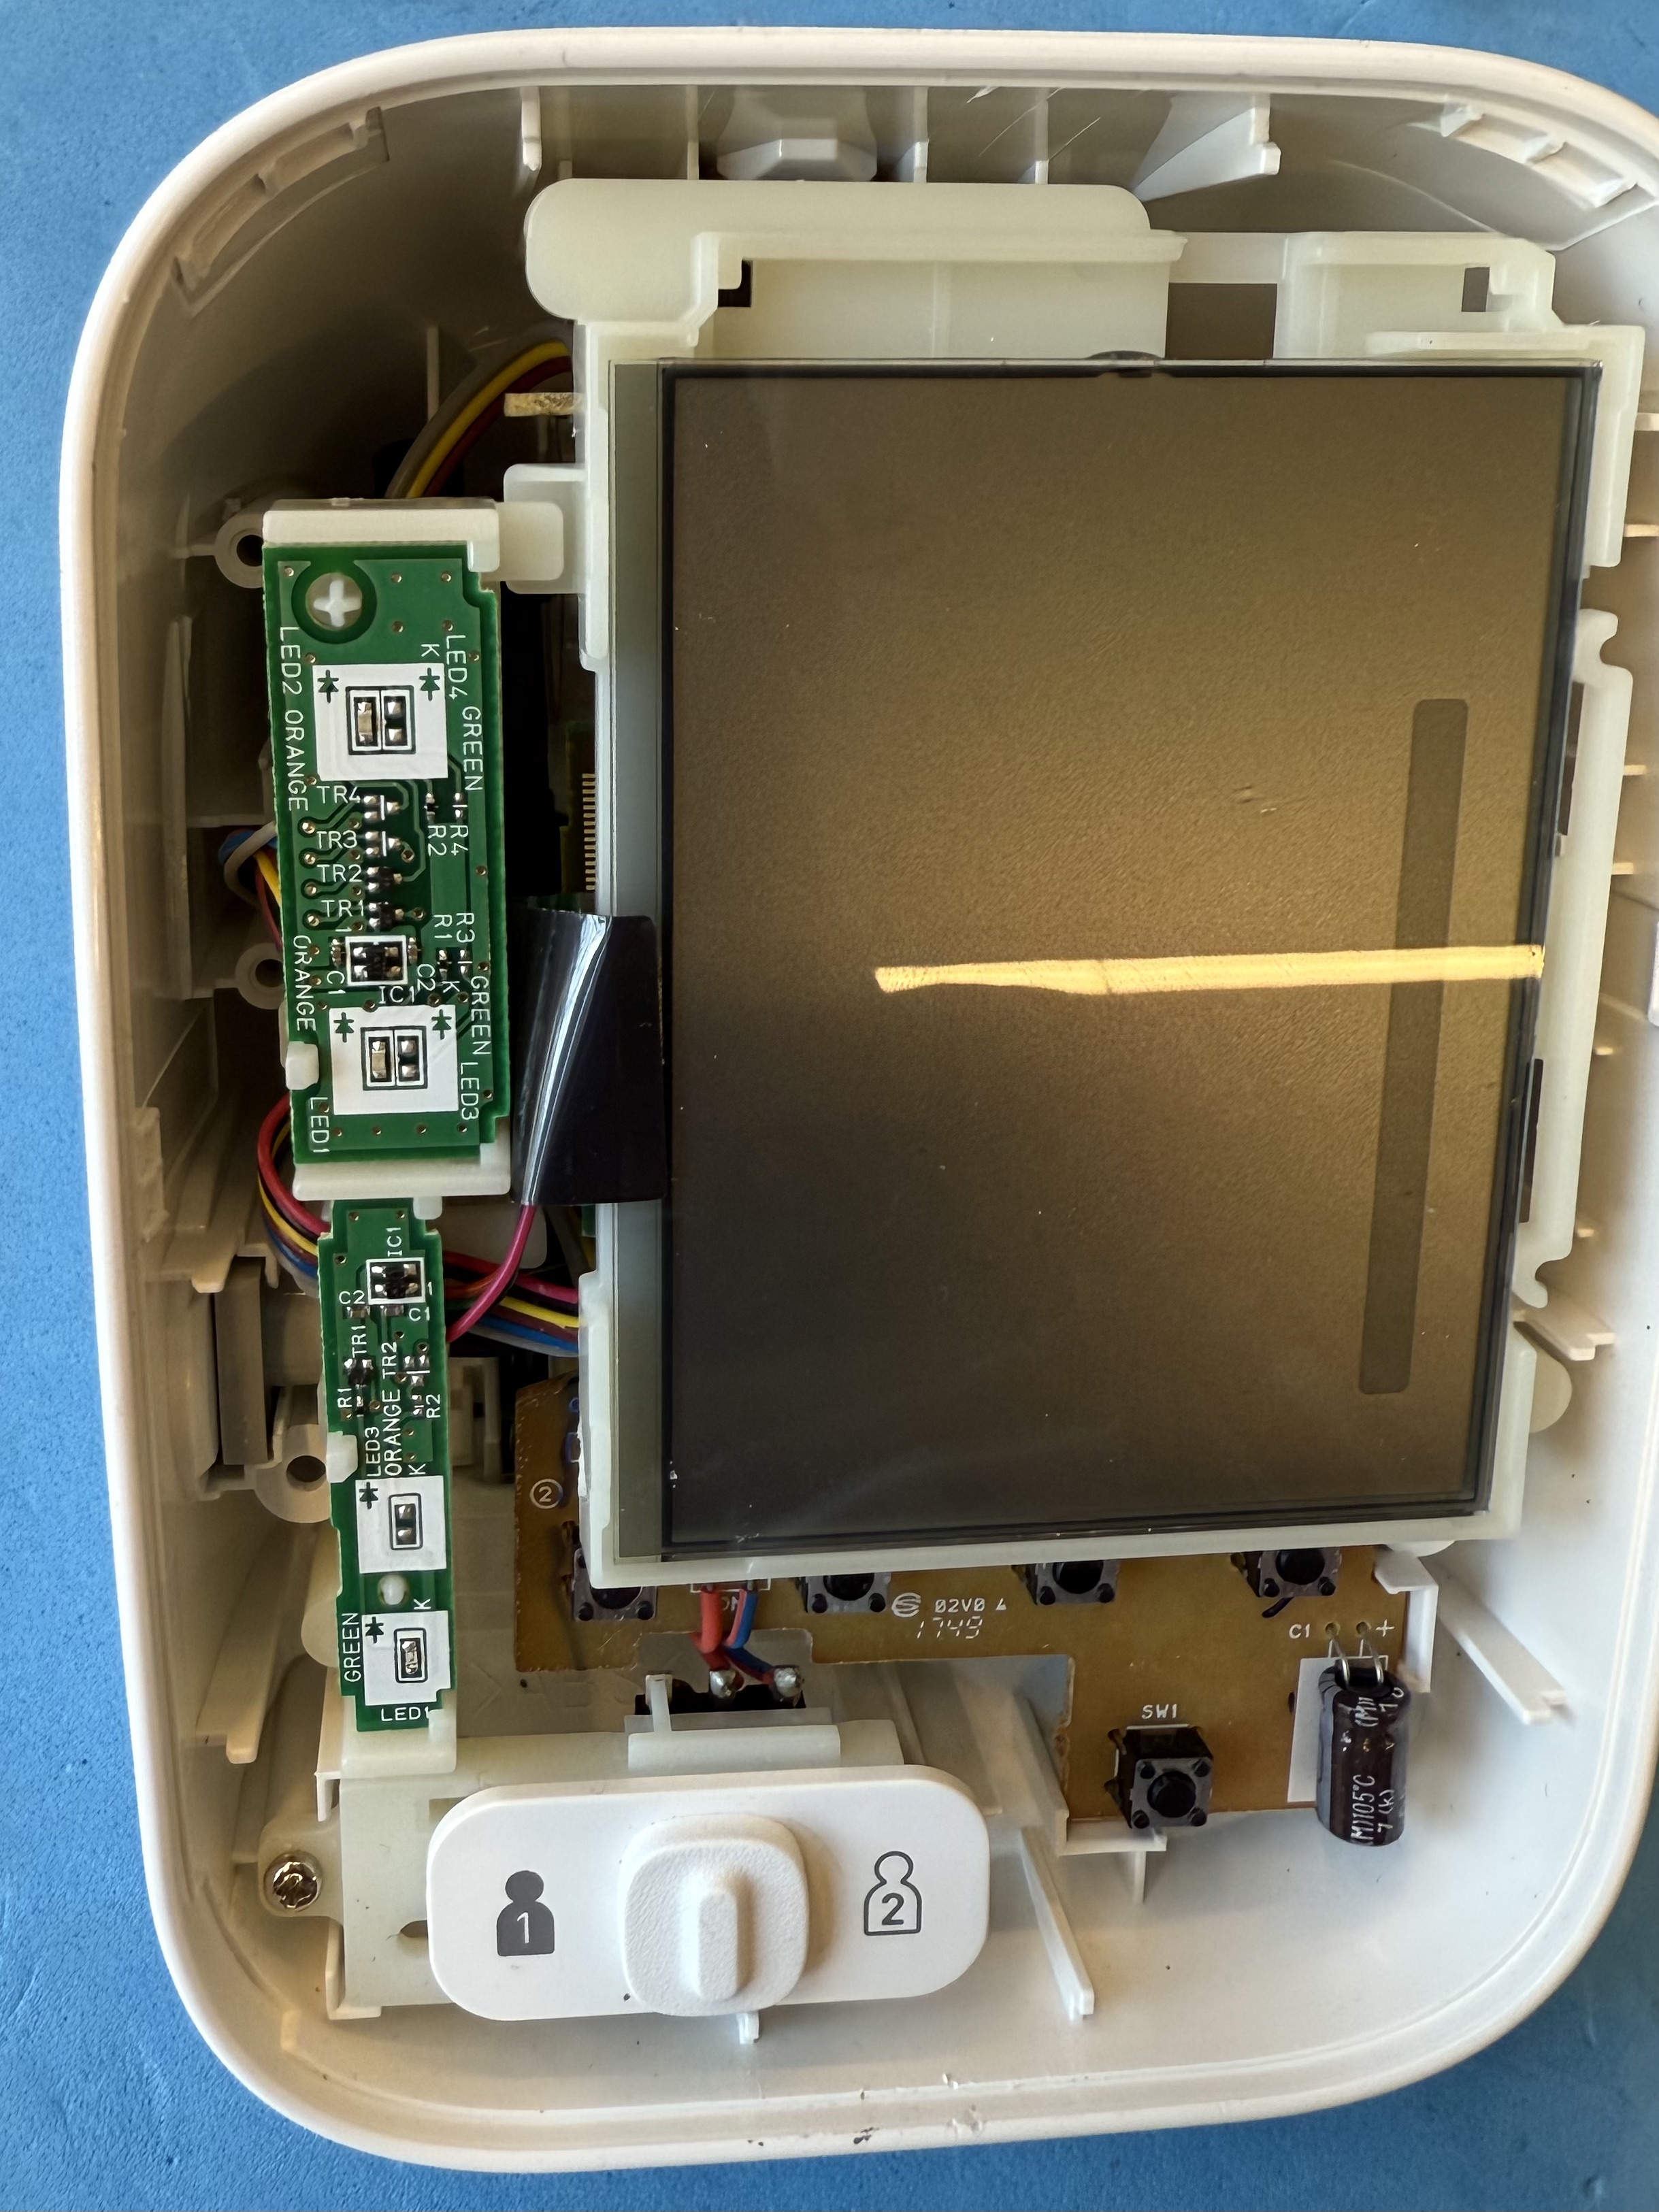
Removing the inside from the casing is still a challenge. There are two steps:
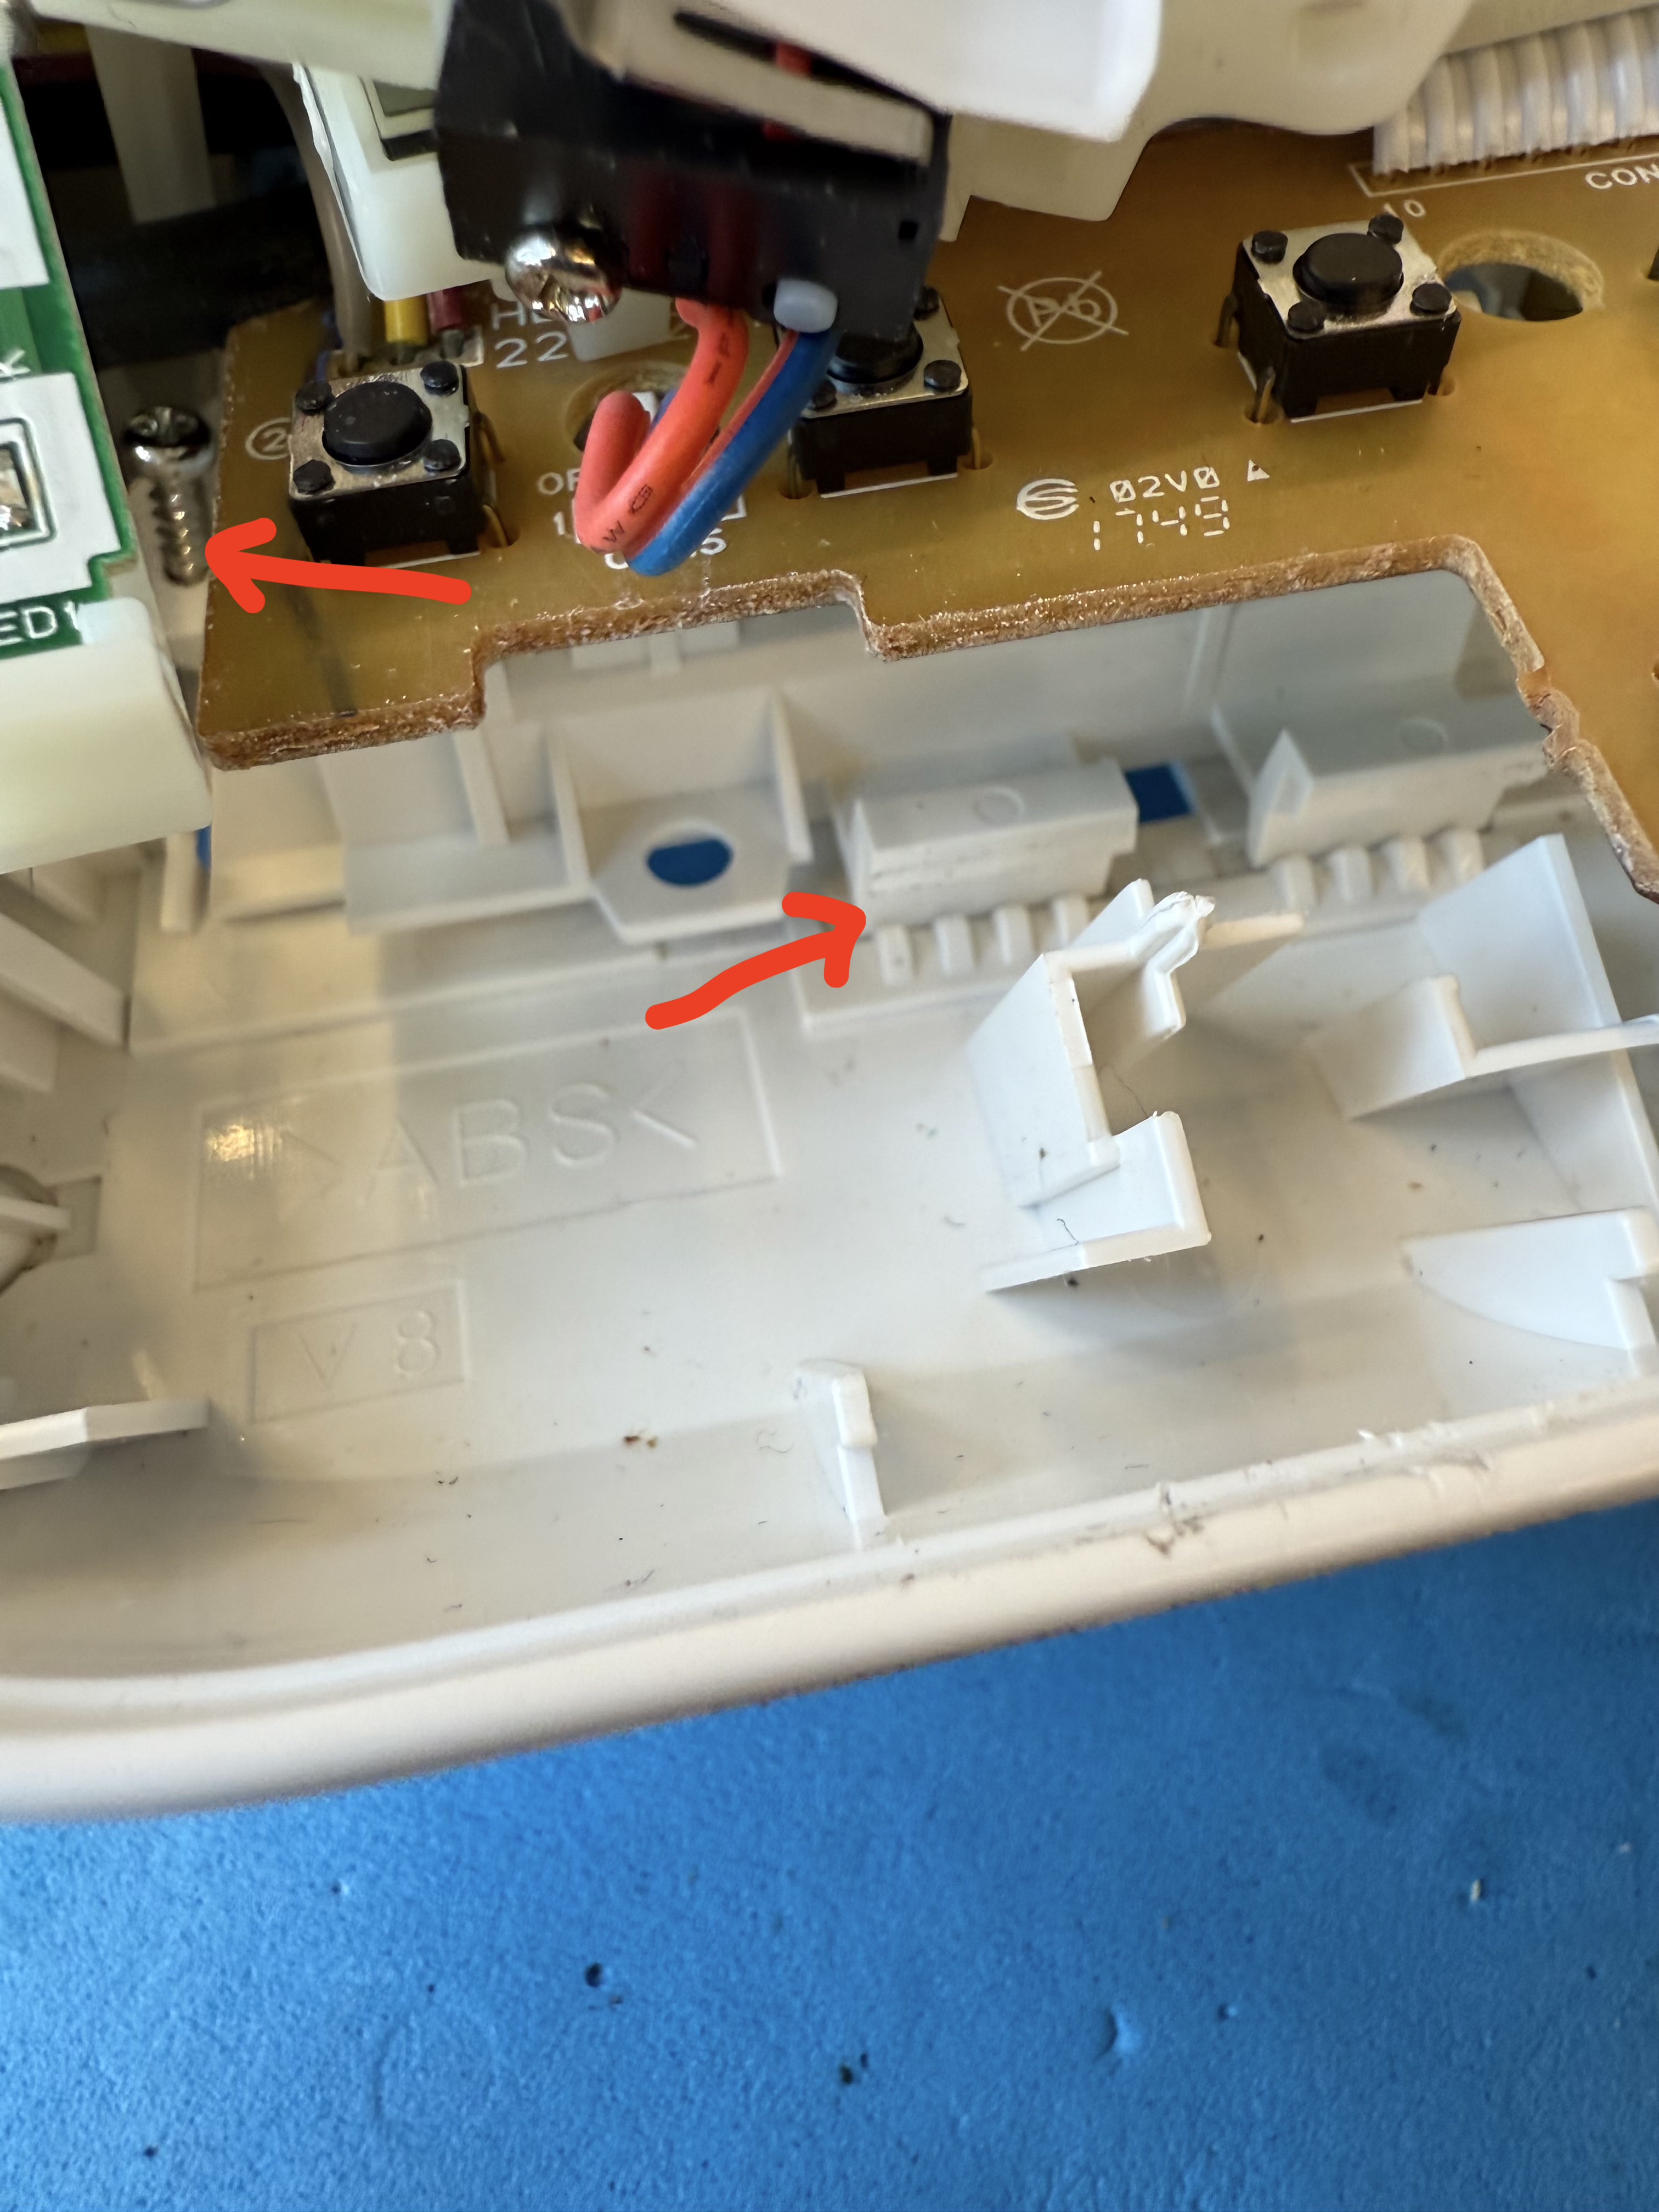
- First remove the screw just below the LED indicator PCB
-
Lift the two plastic tabs that fix the battery container to the outer casing.
From the back, push the battery container to the front and out while lifting the tabs on the inside, so that the container can slide freely.
Then the intestines come lose:
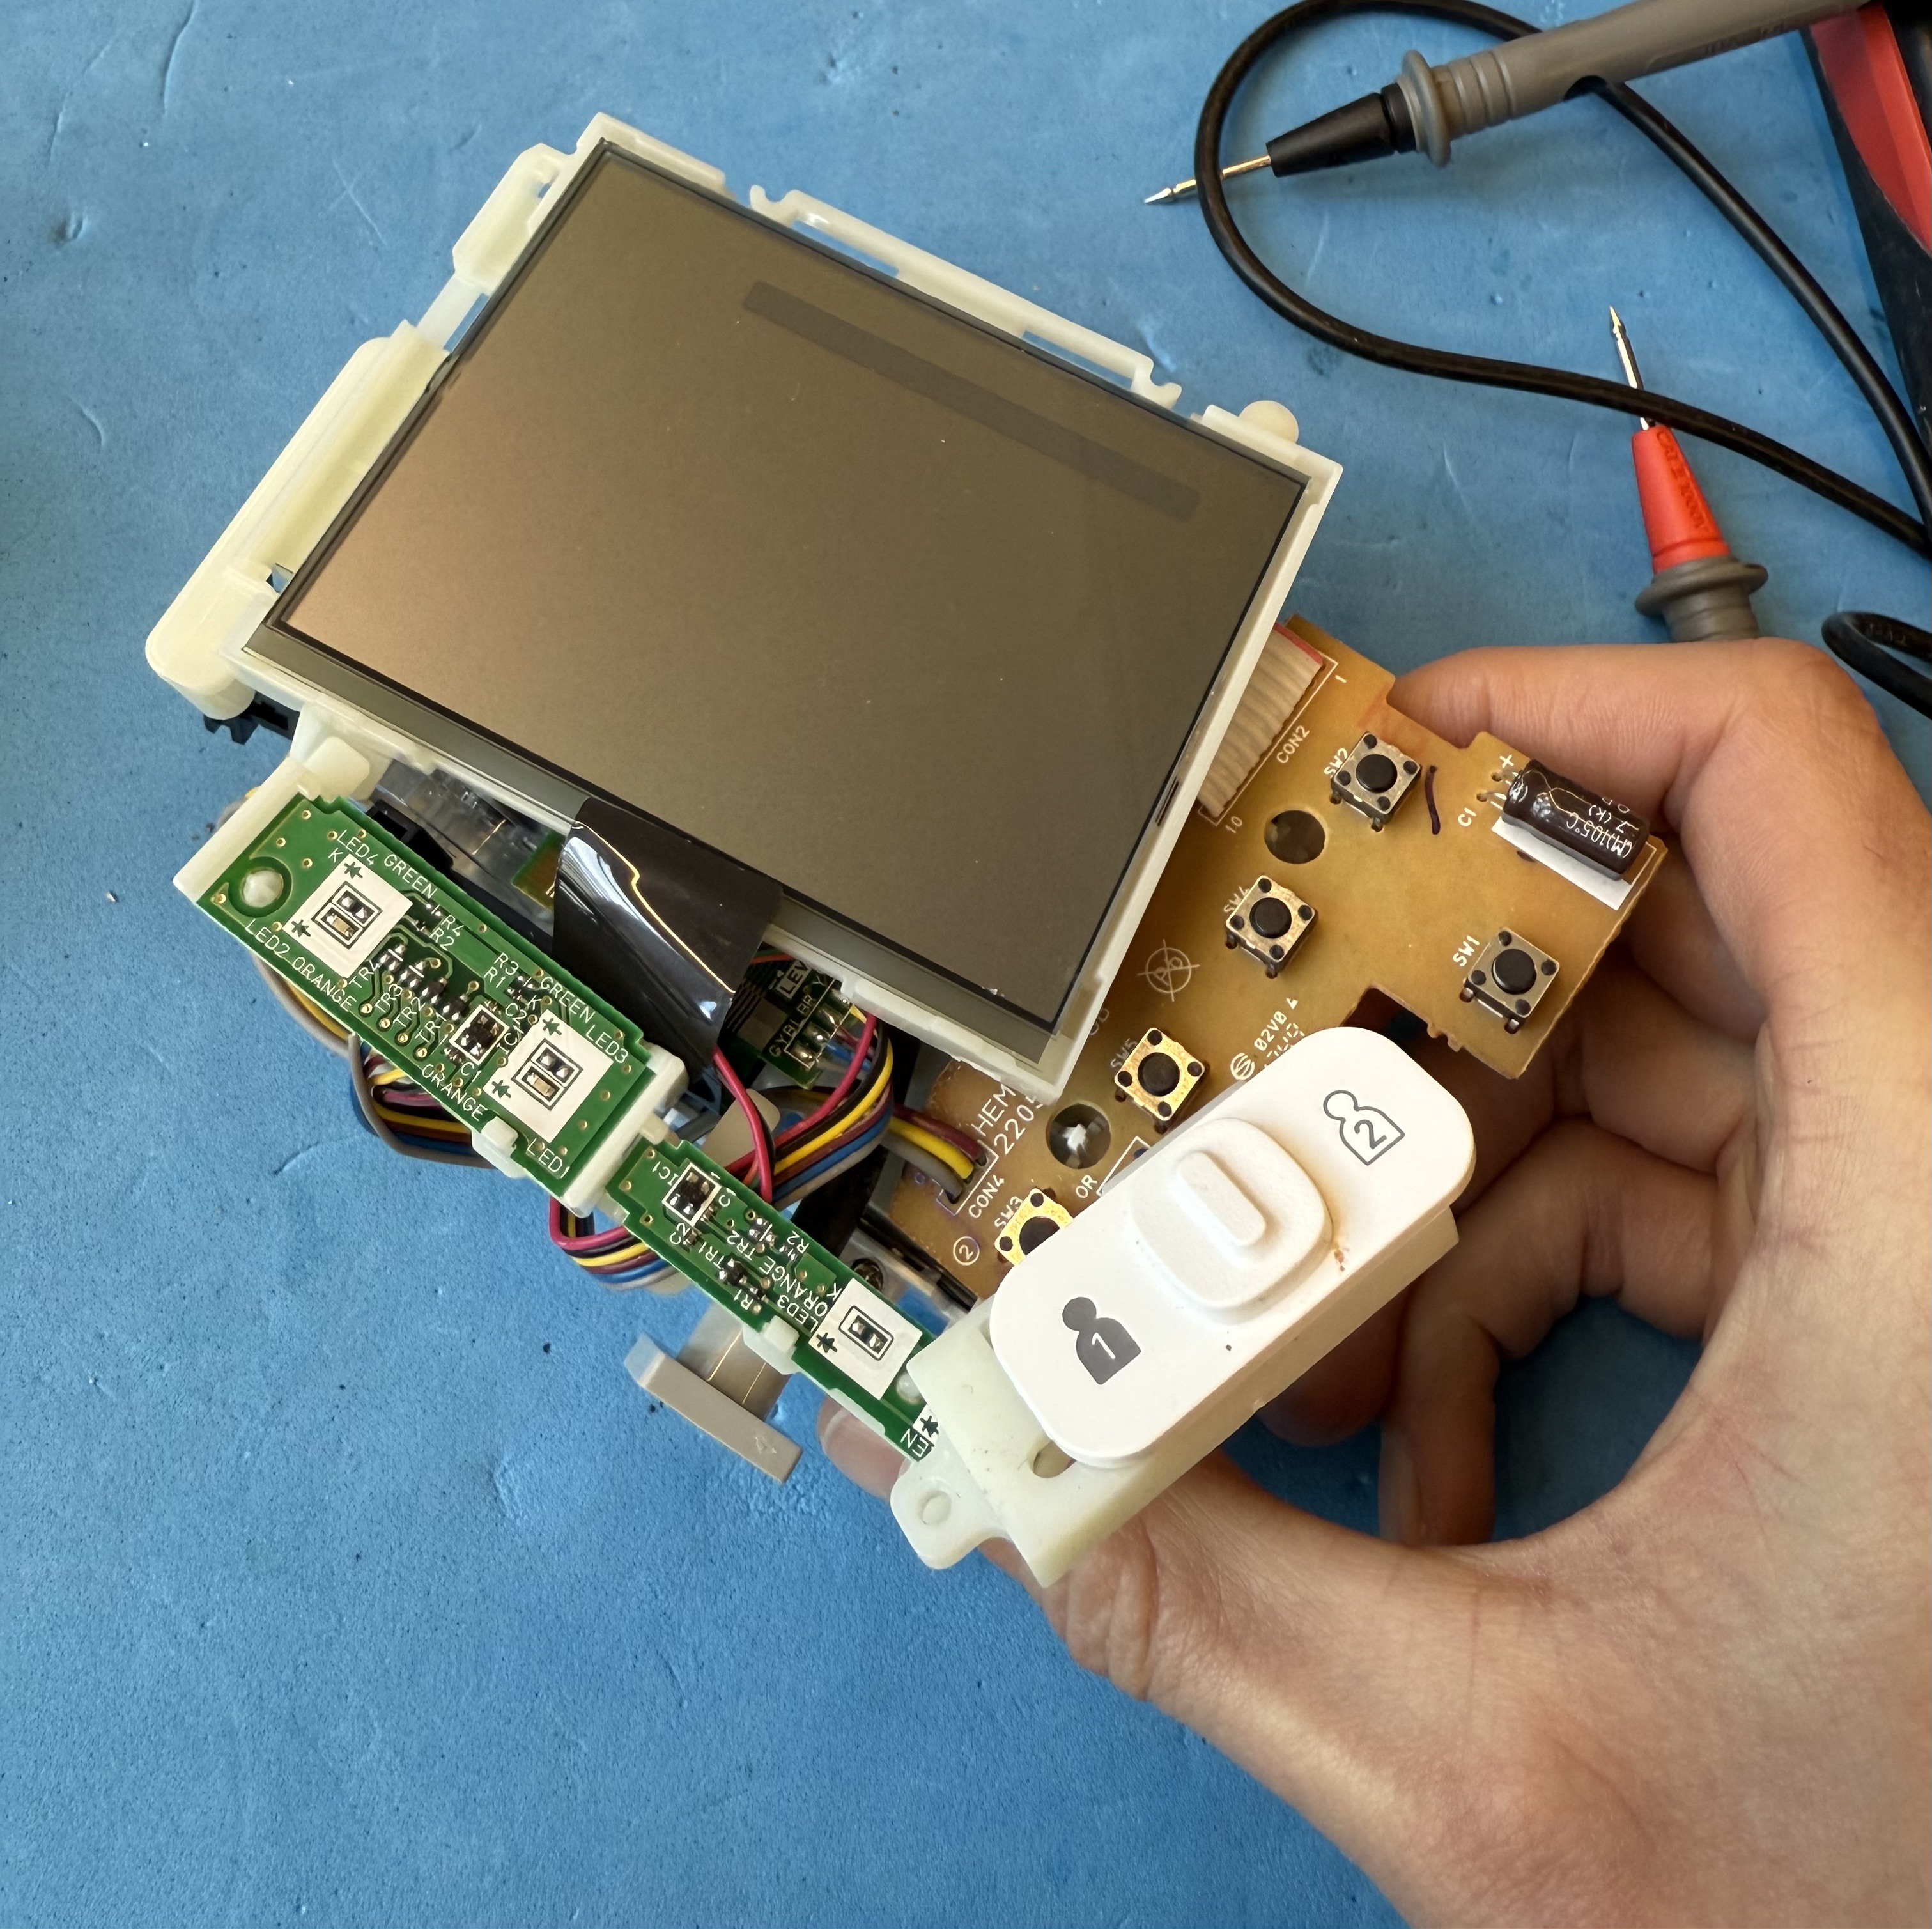
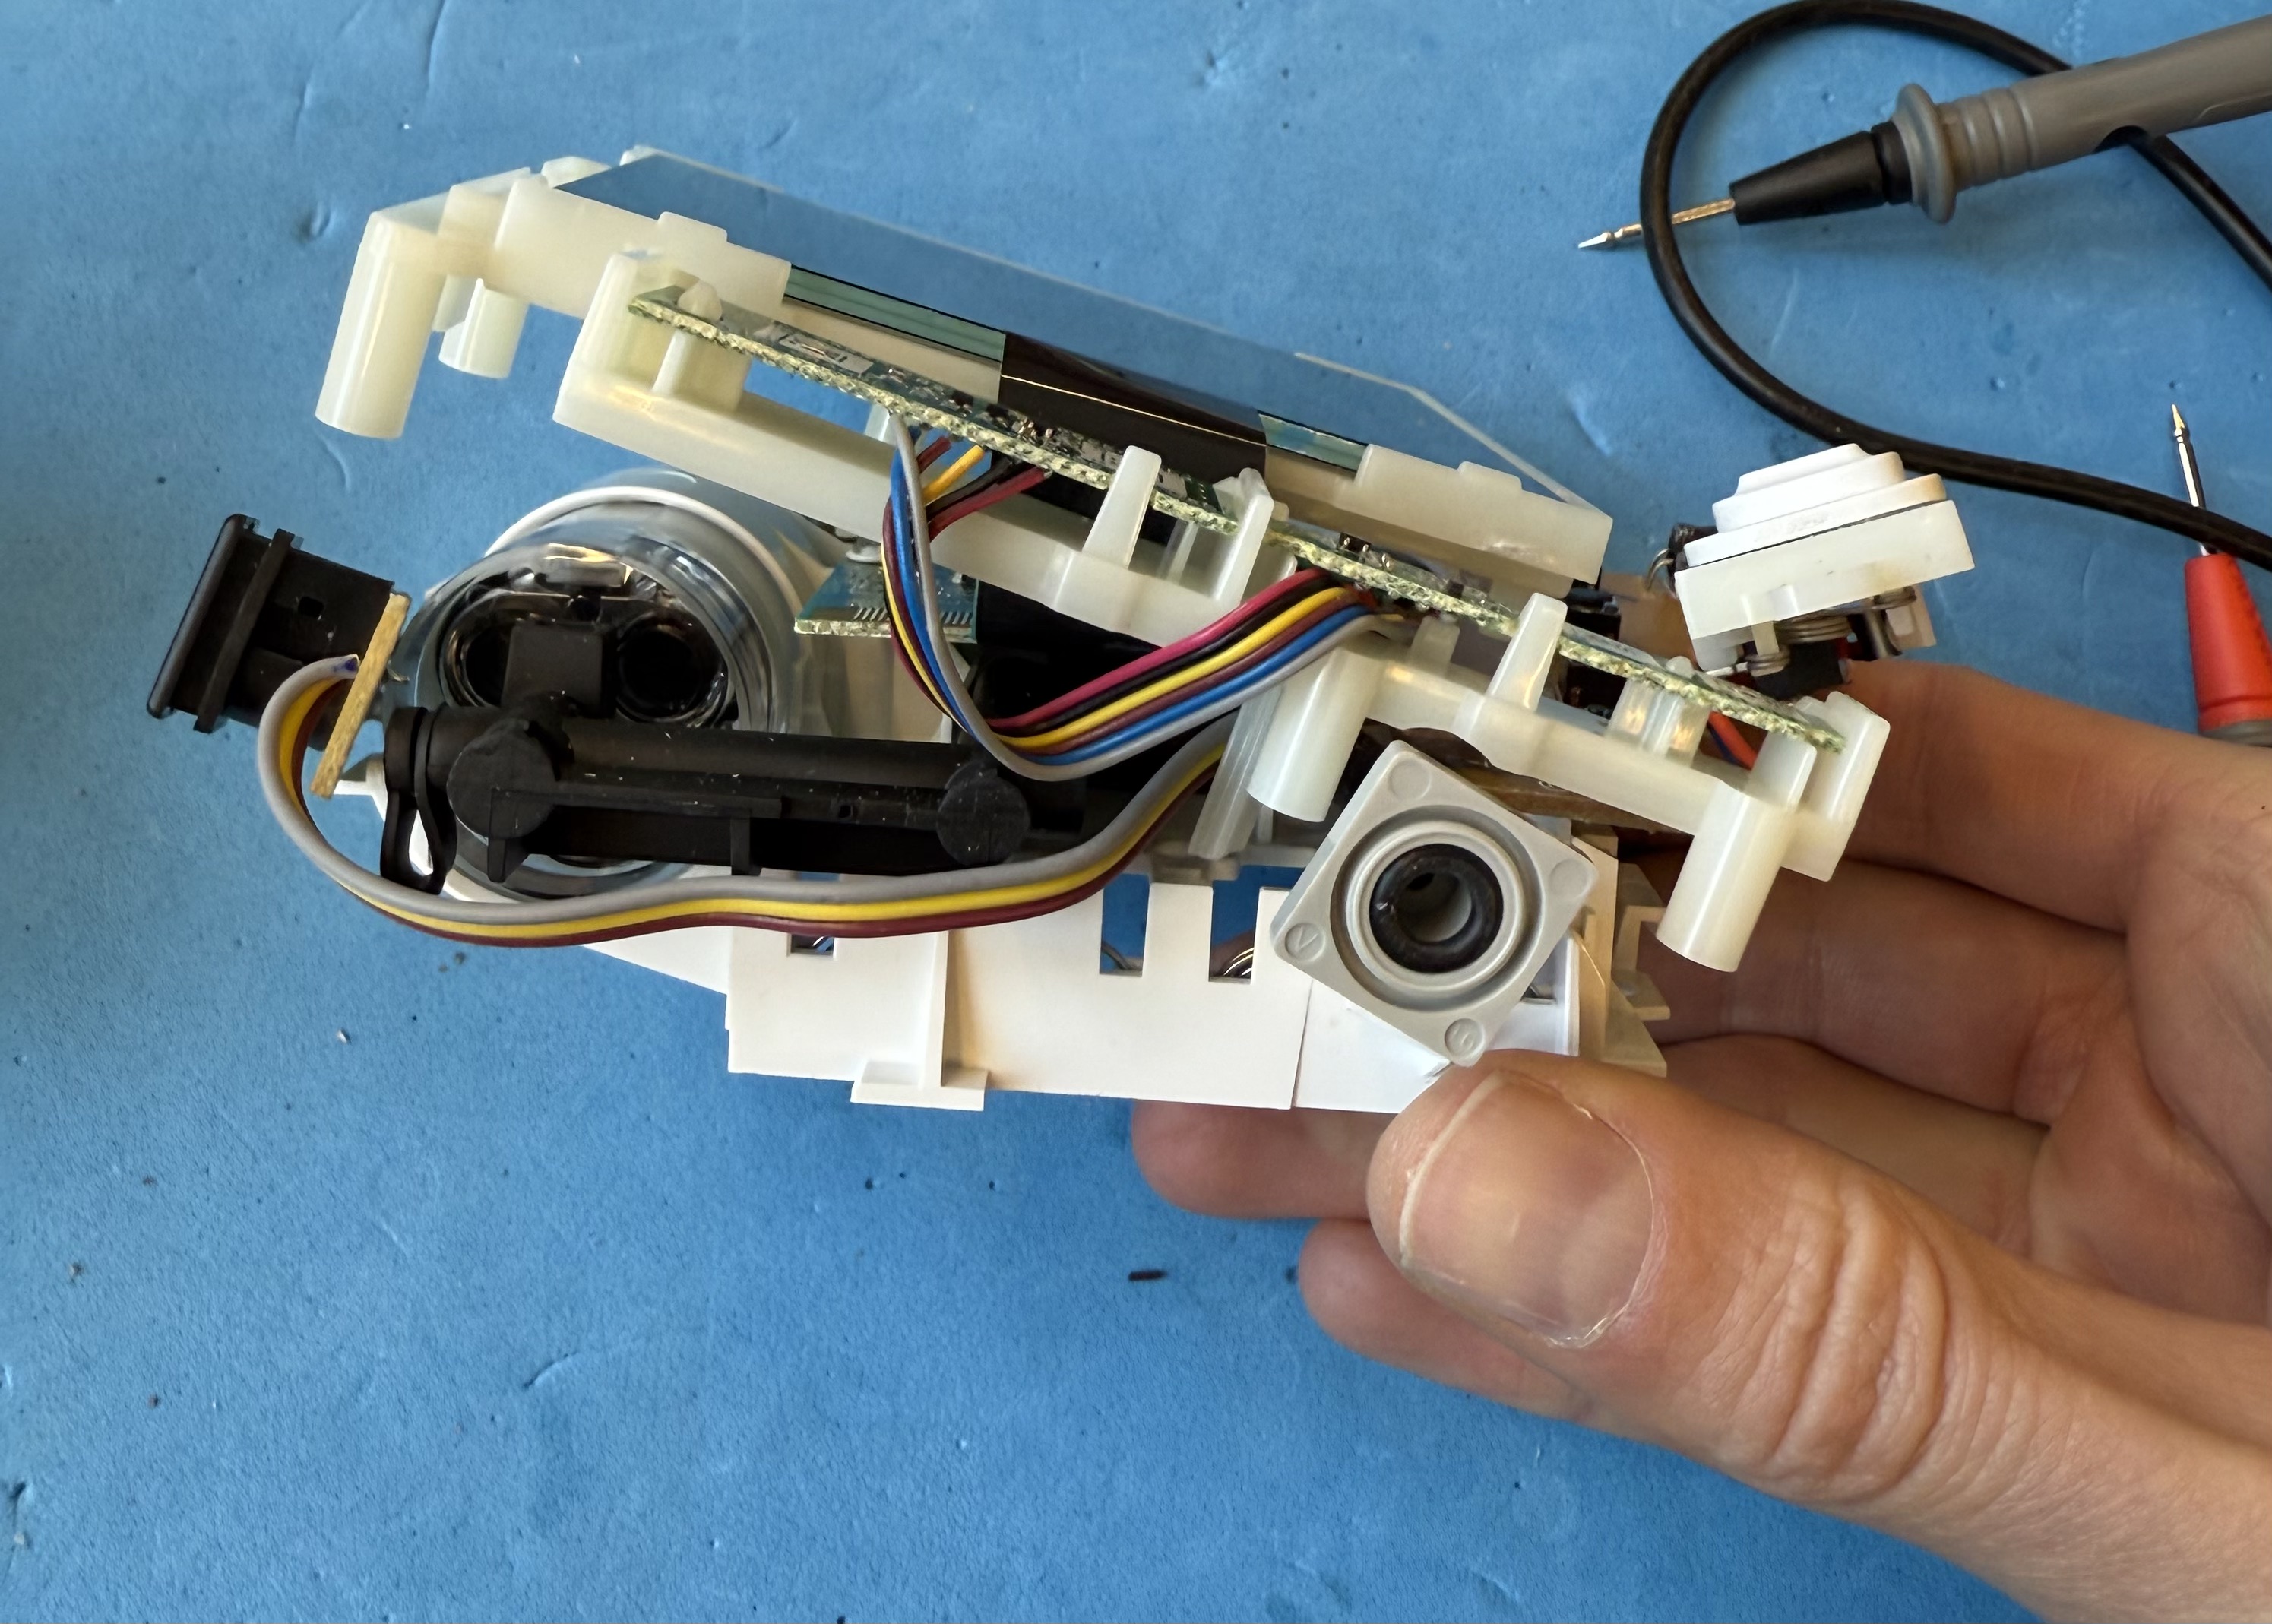
Beauty, both simple and complex at the same time. On the inside there are 4 different PCBs!
Each PCB has a dedicated function:
- LED indicators
- Buttons
- Motor and battery connection
- MCU, Motor controller, Display driver
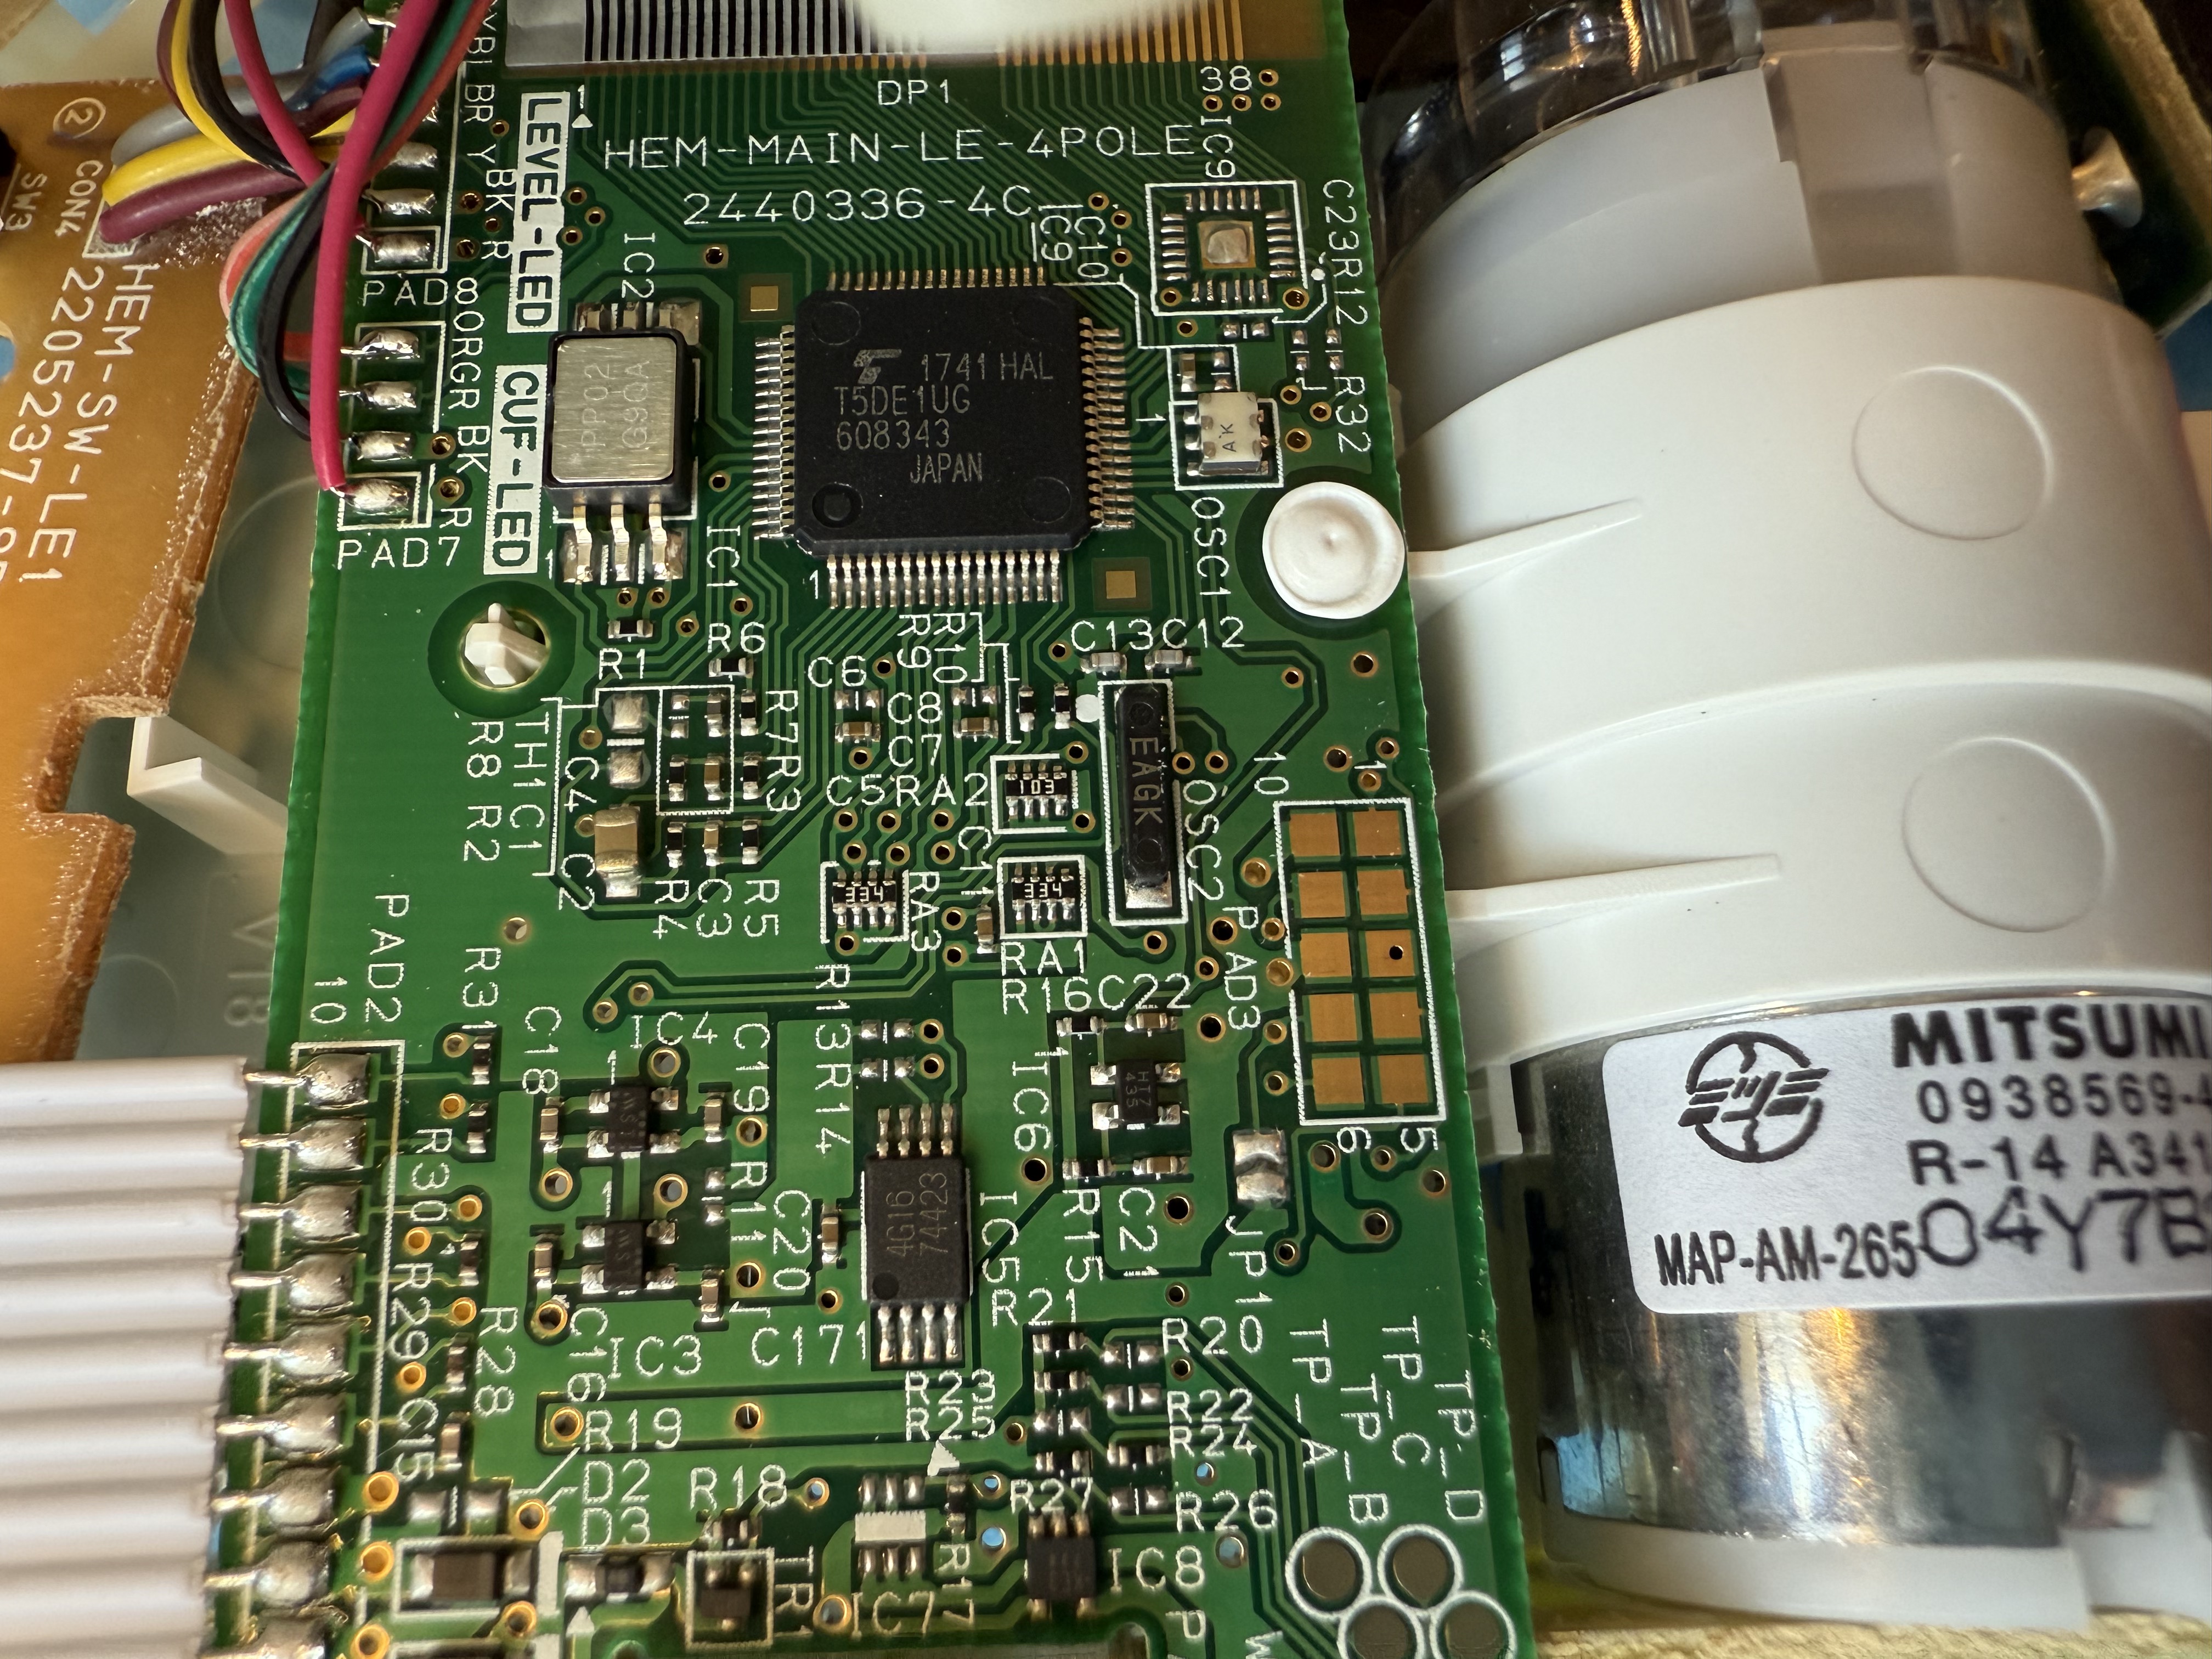
This devices has been designed using high end 3D design software, clearly.
A core feature of this device is being accessible: There are big letters on the display, bright indicators and big buttons. About half the device space is dedicated to User Interaction.
Issue and root cause
Once the device is open, I quickly determine the issue and its cause.
The Start / Stop button micro-switch does not make a clickity sound when pressed. The other switches do. Testing with continuity mode on the multimeter, my hypothesis is proven: The Start / Stop microswitch is pushed one too many times.
We have a set of 6x6 mm microswitches in stock.
The repair
- Snip out the broken microswitch using side cutter pliers
- Clear the PCB holes of old solder and snipped pins using a soldering iron, a tin sucker and solder wick
- Select a microswitch from the 6x6 mm set that looks right
- Solder the new microswitch in place
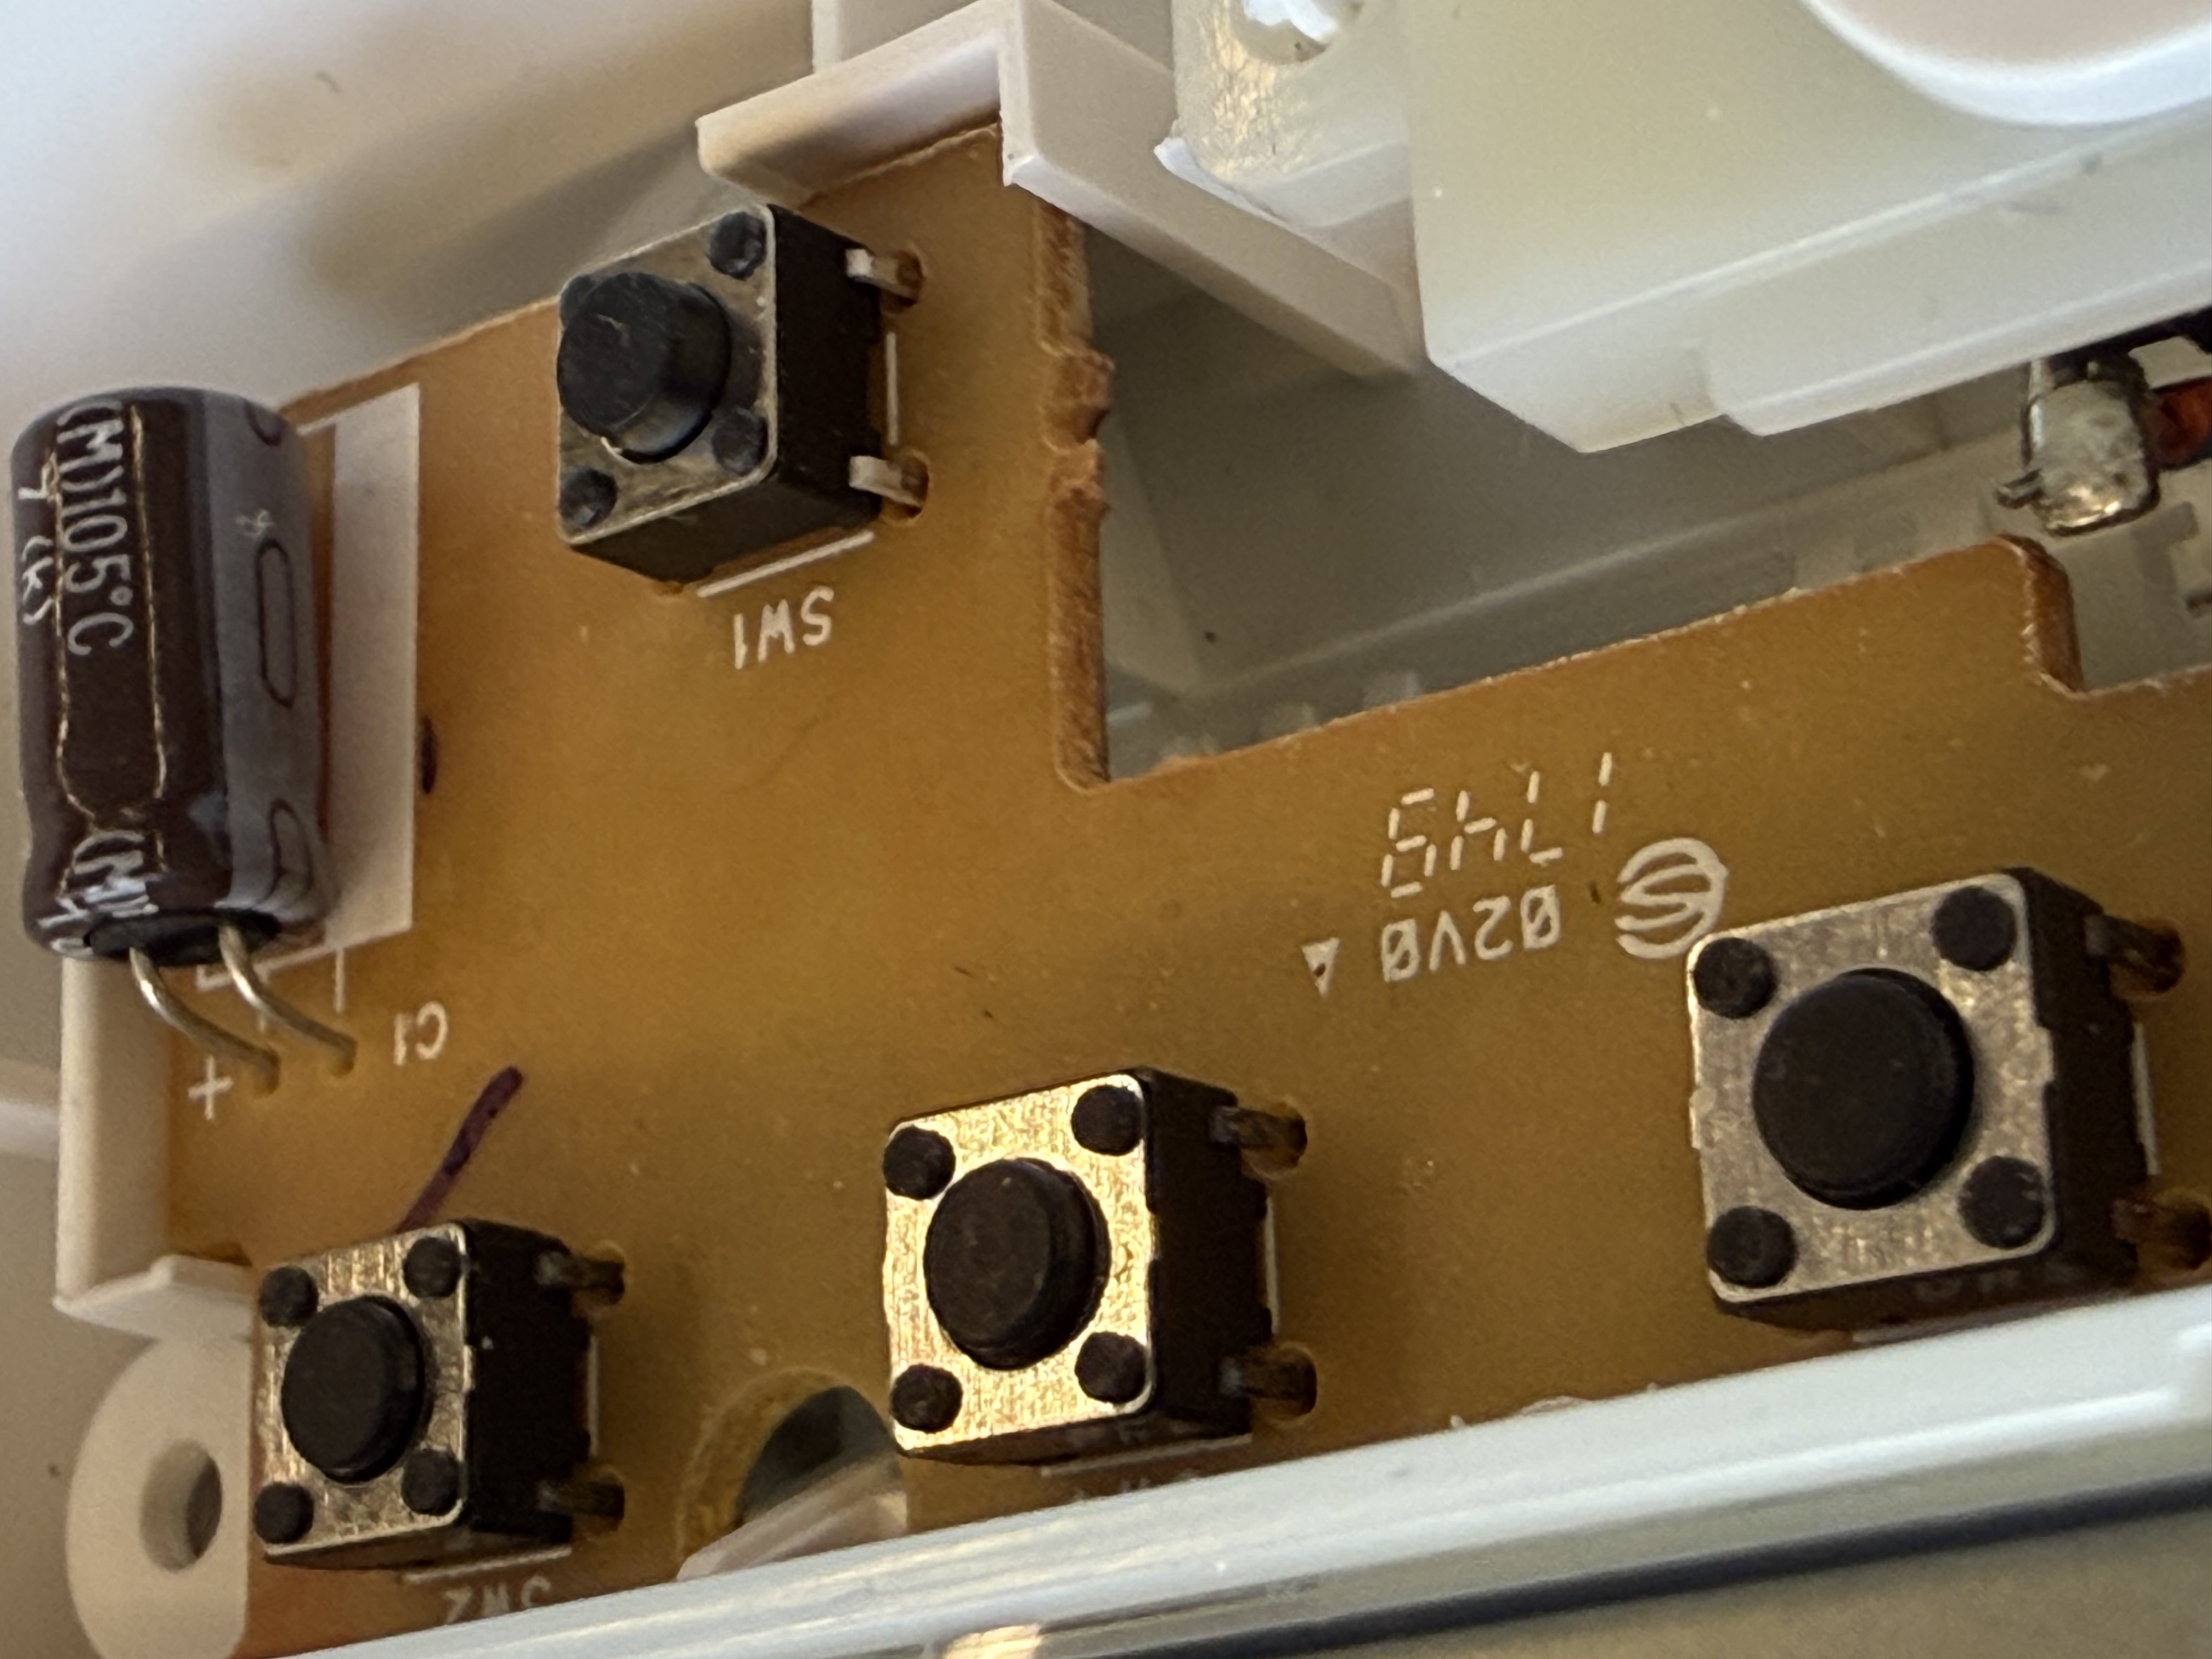
Testing the new switch with a multimeter, it works flawlessly. With batteries connected, the pump can be started by pressing the new microswitch.
Time to reassemble.
Once fully assembled, the Start / Stop button does not work.
Again.
The repair, continuation
I remove the front panel and start inspection.
SW1, the replaced microswitch, as you can see on the above picture, is just a bit taller than the other microswitches.
(…dare I say “it is a less-microswitch”?)
When the front panel is mounted, the Start / Stop button permanently presses the microswitch.
One could redo the whole operation and mount a better fitting microswitch there. But let’s not waste time.
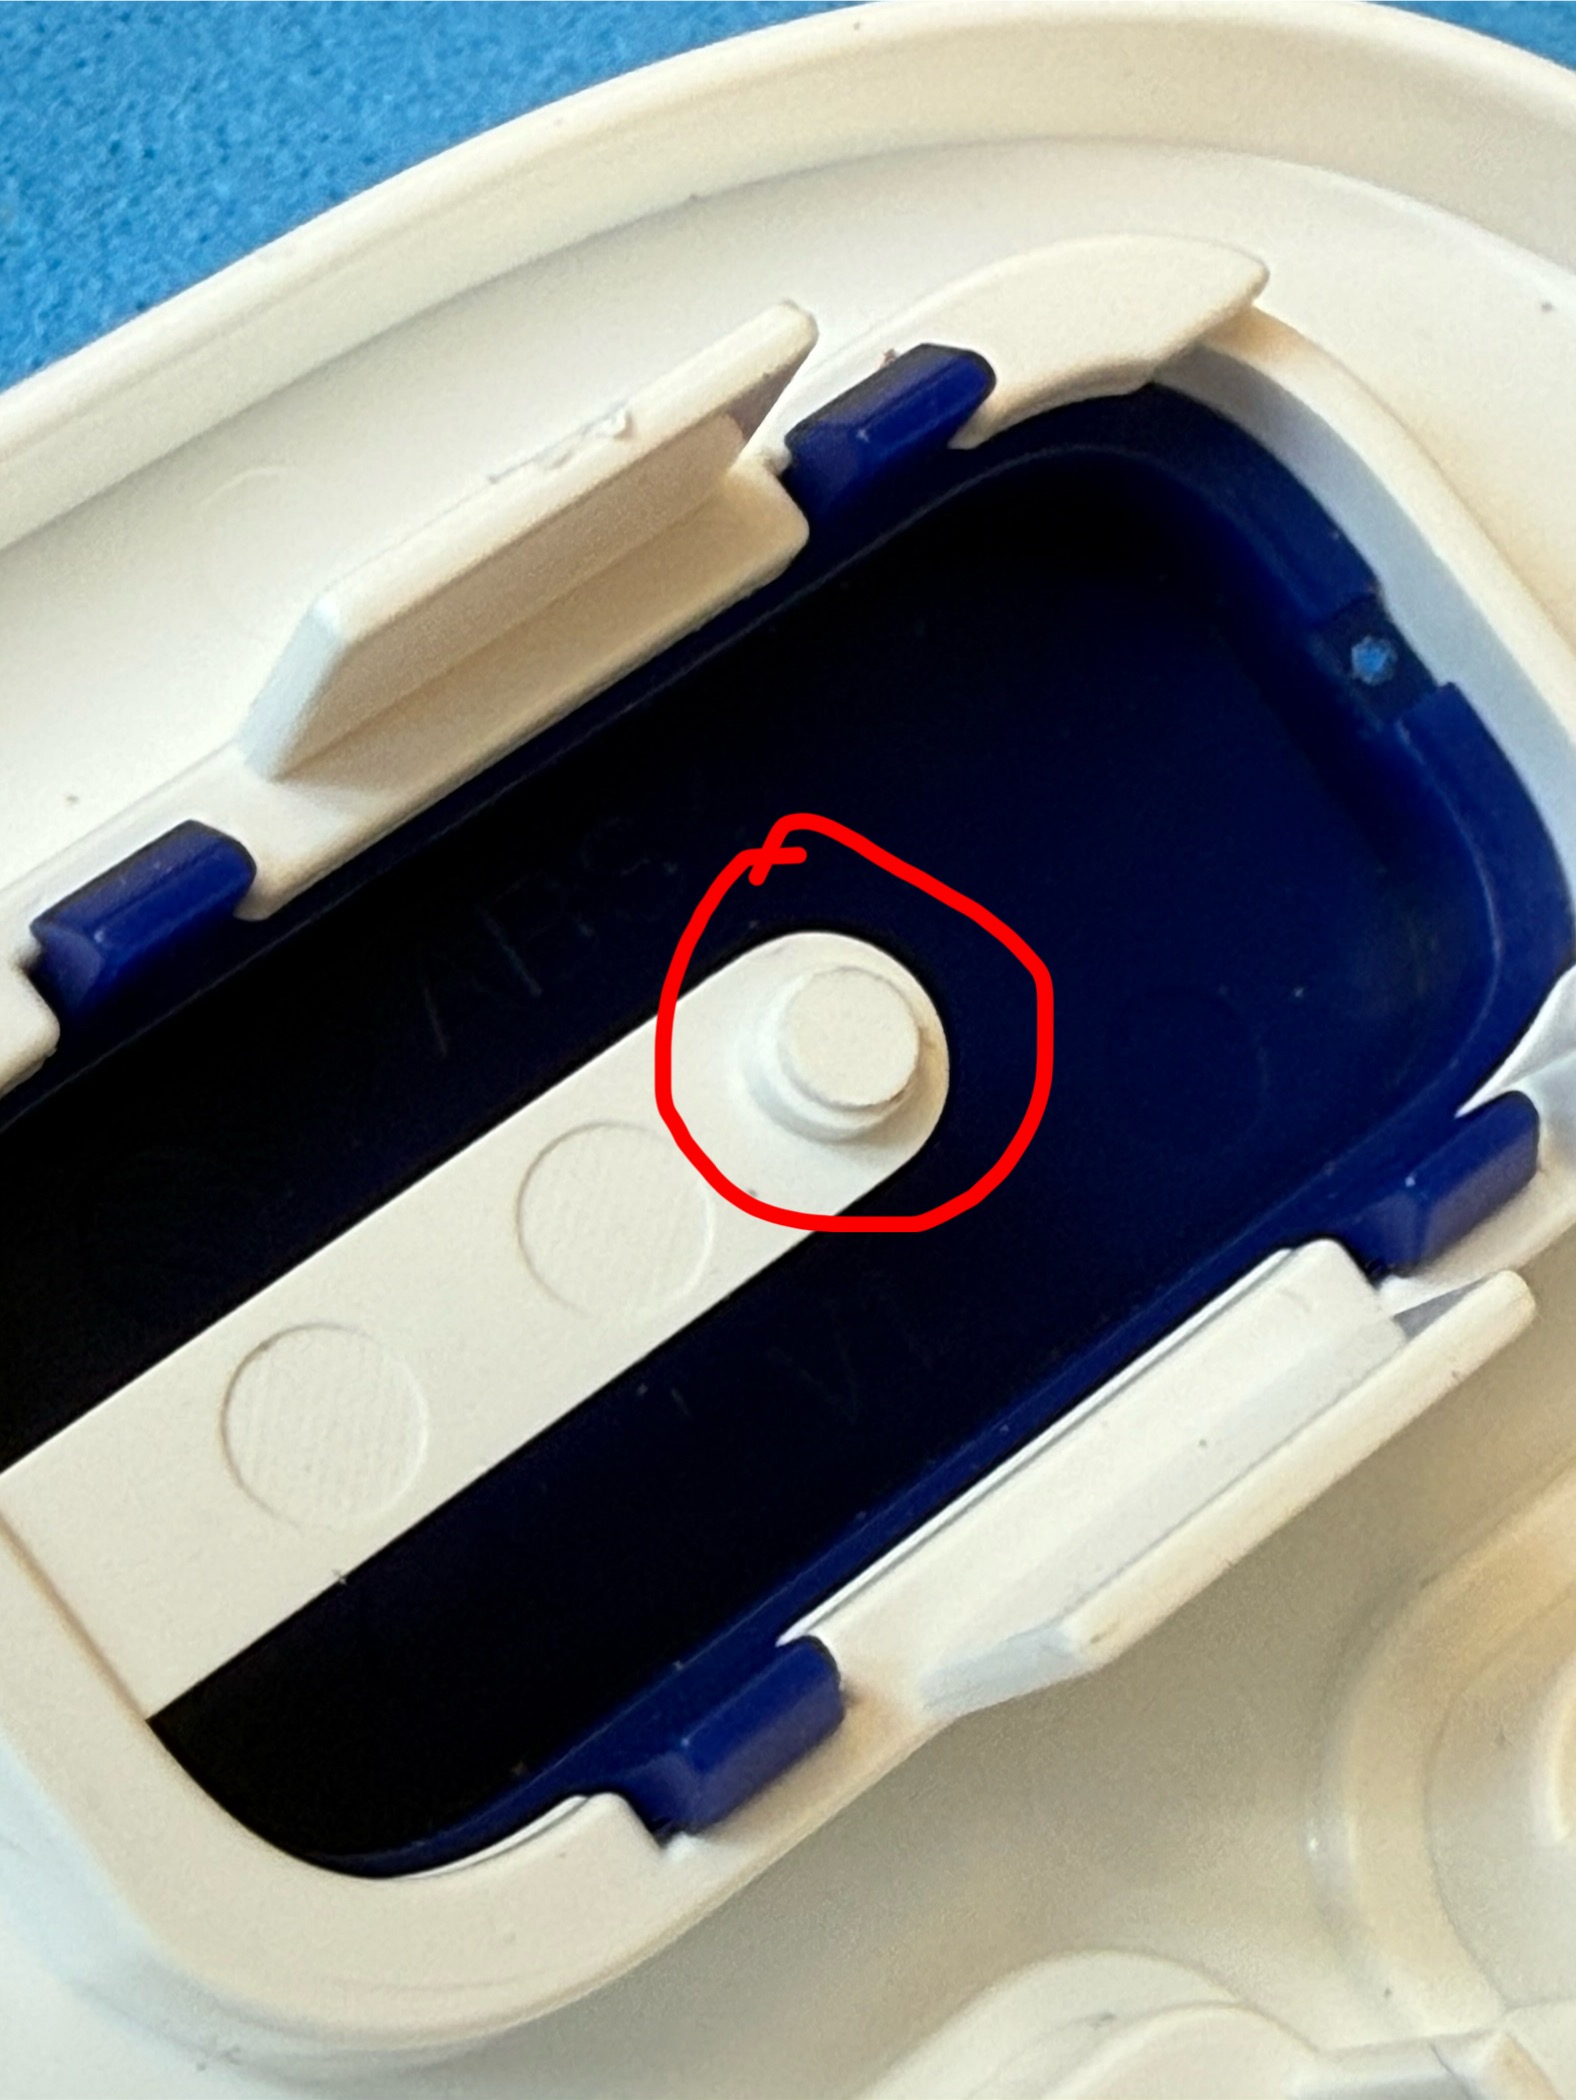 I trim the button lever that pushes the micro switch, making room for the taller micro switch to pop back.
Resolution
After assembly, the blood pressure measurement device “works”!
The customer measures their blood pressure and it indicates “high”.